Mill-Max Socket Guide
There’s a large number of SKU’s for Mill-Max sockets. This guide will focus on the 3 most commonly used sockets for building mechanical keyboards
 |
 |
 |
|---|---|---|
| Mill-Max 3305 | Mill-Max 7305 | Mill-Max 0305 |
| 3305-0-15-15-47-27-10-0 | 7305-0-15-15-47-27-10-0 | 0305-1-15-80-47-80-10-0 |
| Gold over Nickel | Gold over Nickel | Tin over Nickel |
| Length: 2.67mm | Length: 2.67 mm | Length: 3.94mm |
| Very expensive | Expensive | Cheap |
| 100+ unit price: $0.50AUD | 100+ unit price: $0.37AUD | 100+ unit price: $0.15AUD |
The Basics
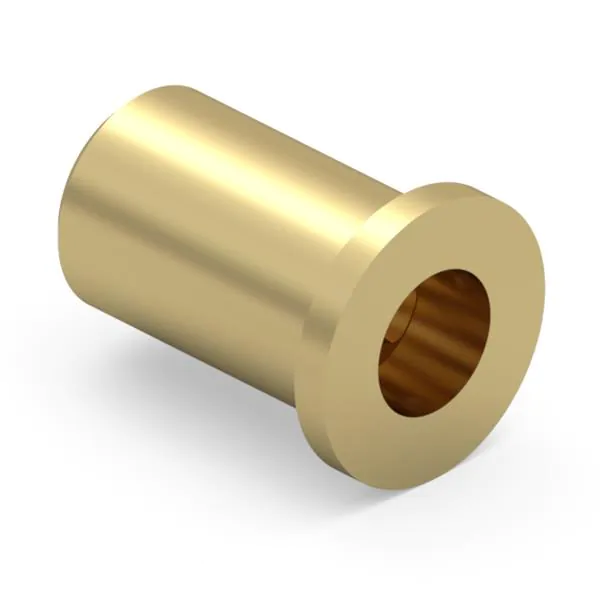
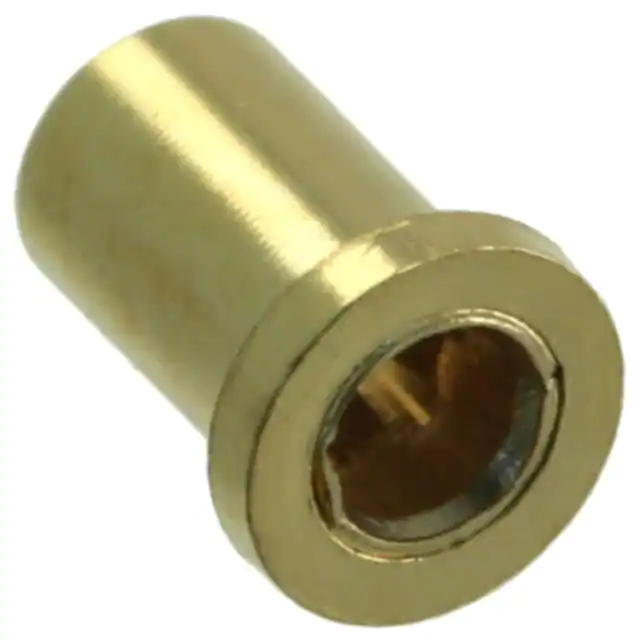
Mill-Max sockets are used for solderable PCBs to convert them to hotswap. This is achieved by soldering the sockets where switch pins would normally be soldered. The sockets have a series of metal fingers that taper to a point inside, and when a switch pin is inserted, an electrical contact is made.
You need 2 Mill-Max sockets per switch (one for each metal leg).
Where to buy Mill-Max sockets?
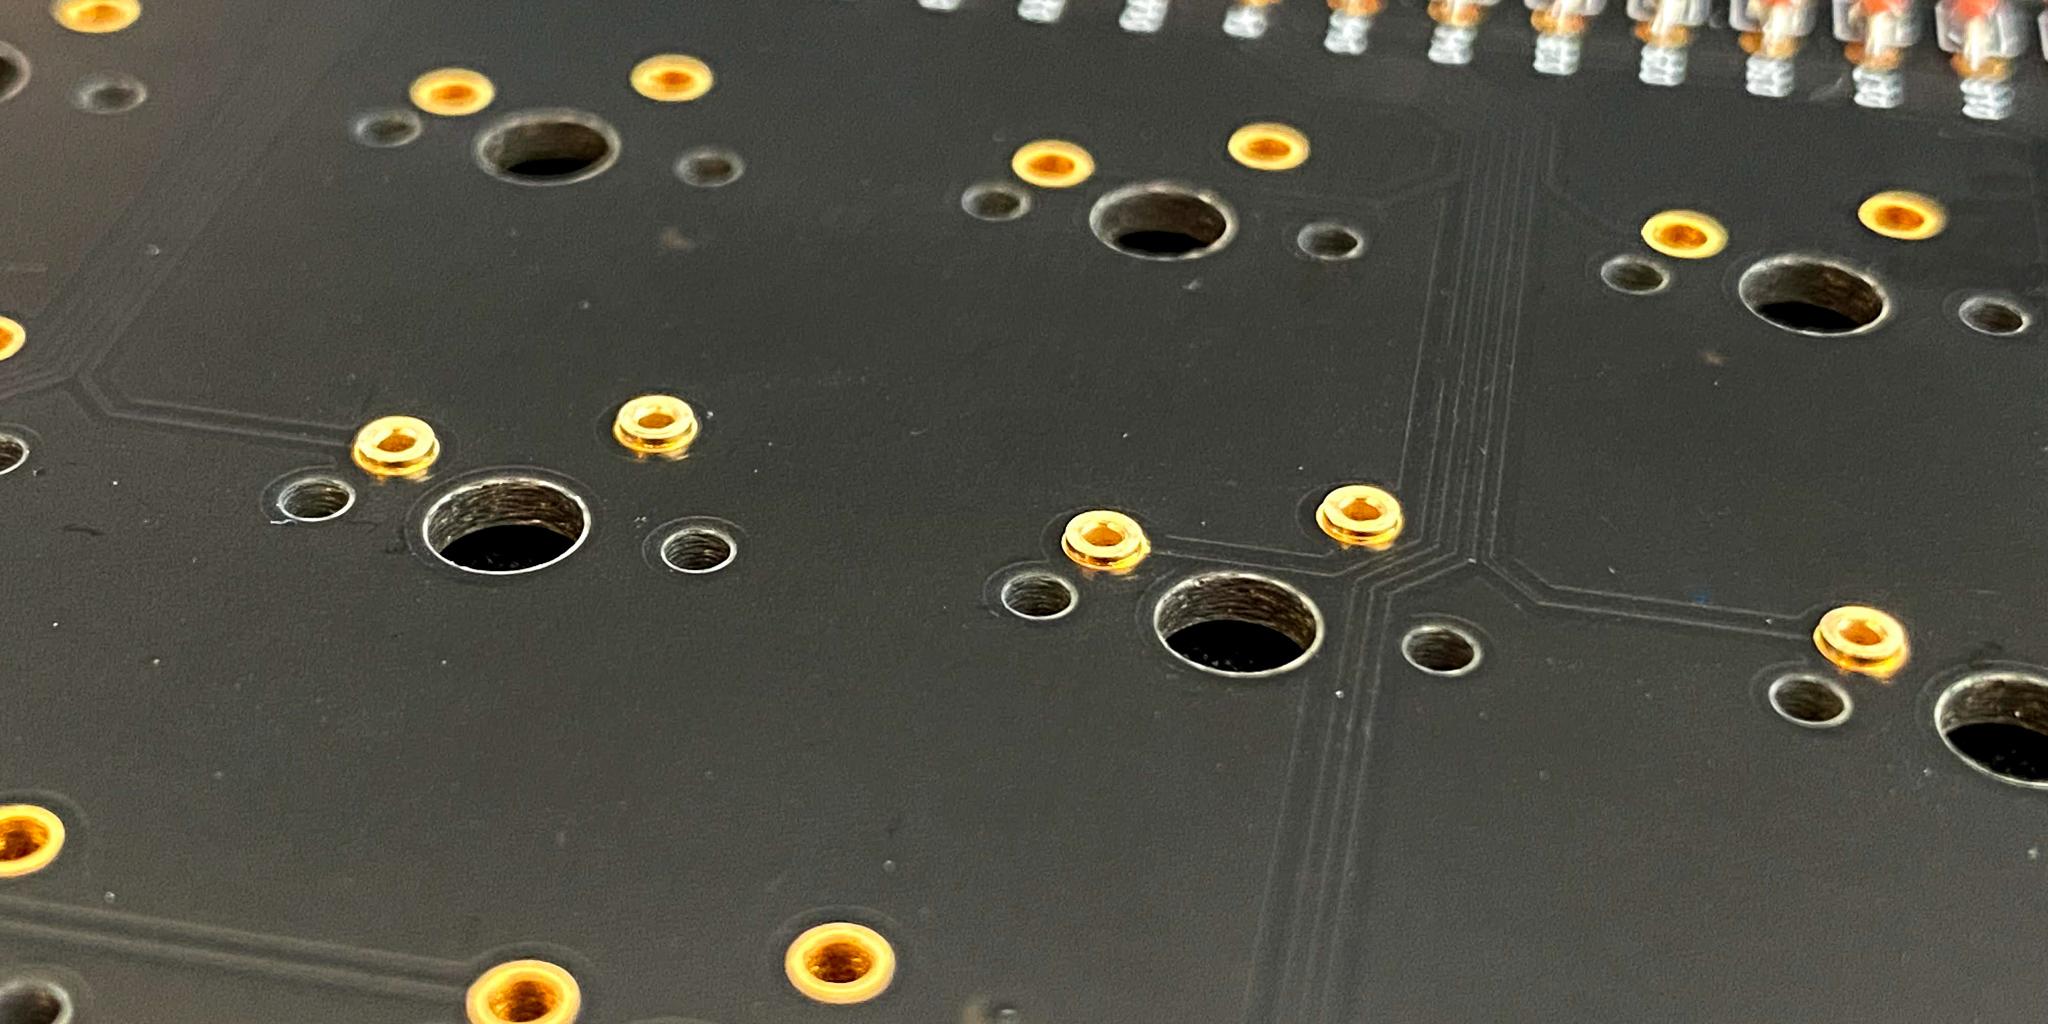
Length Difference
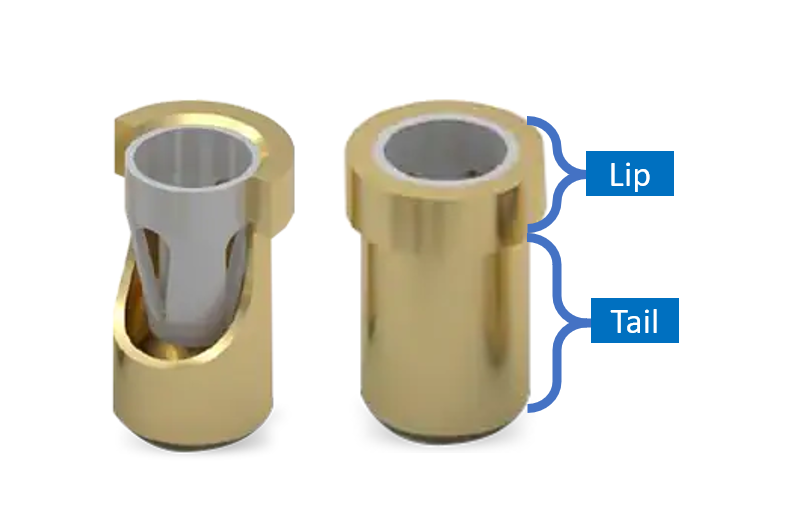
The main difference between these sockets is their overall height, and the height of the portion that sits above the PCB (referred to as the lip).
The extra height of 0305 sockets causes switches to sit slightly higher than 7305 and 3305 sockets - this can lead to wobbly switches as the extra alignment pins in a 5 pin switch are not fully seated in the PCB. It can also cause fitment issues for cases with very tight tolerances.
Pictures below are courtesy of u/tonsoffun49 and demonstrate the difference between 0305 and 7305.
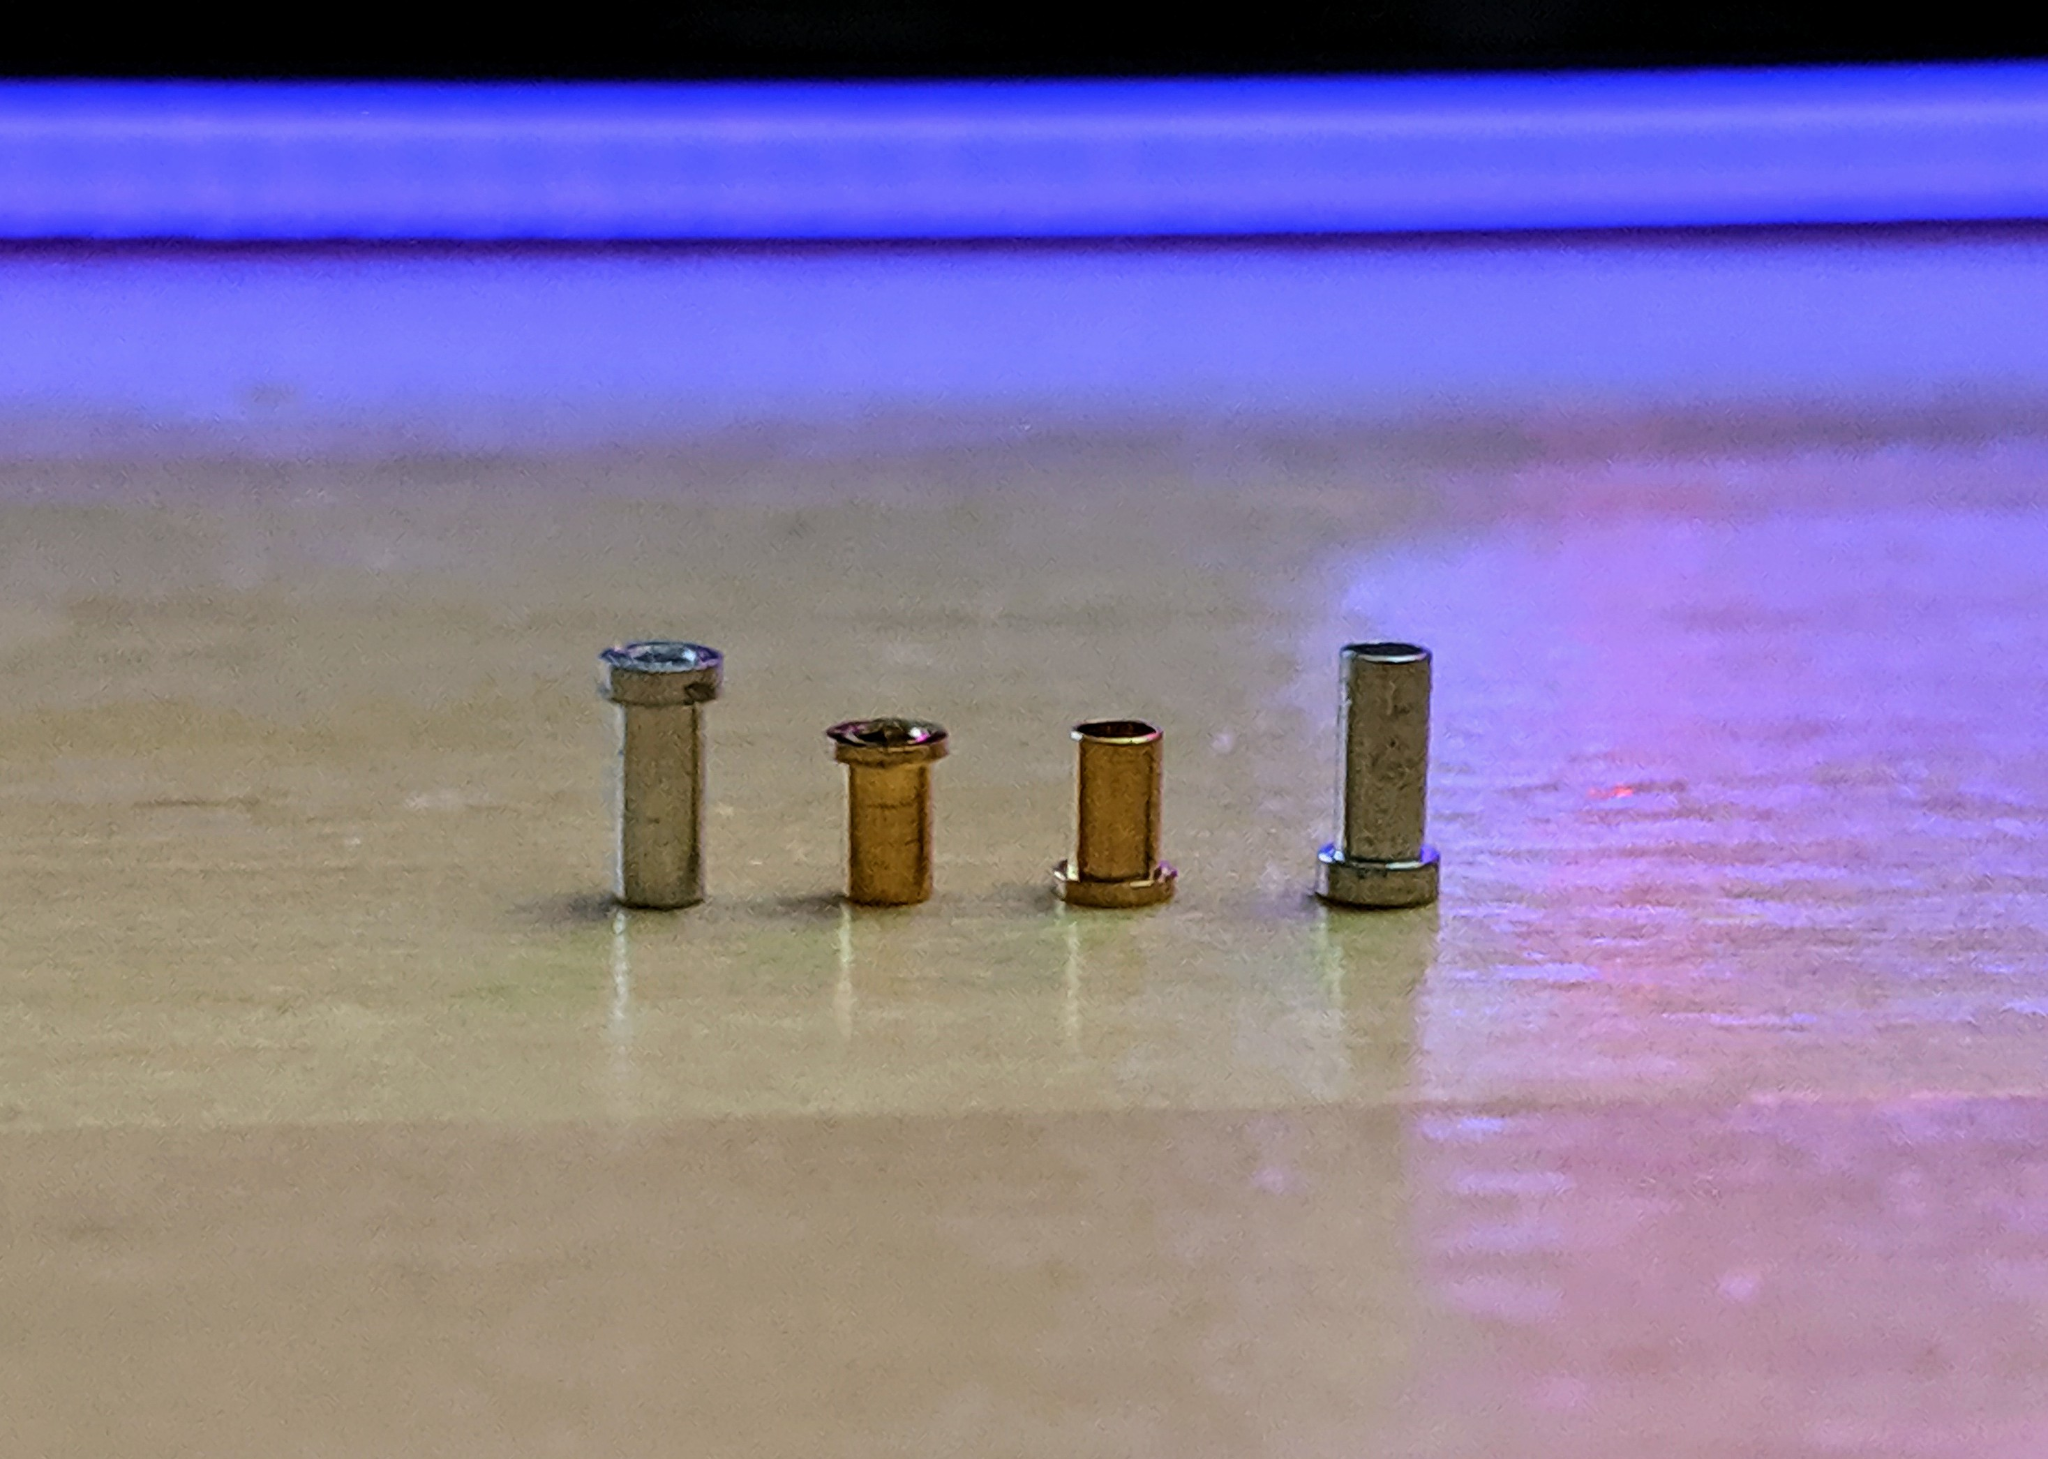
And the following picture demonstrates the lip difference between 7305 and 3305 sockets.

Case Compatibility
When planning to Mill-Max a board, it’s best to check Reddit or other communities first to see if anyone has successfully modded that specific board before. 7305 sockets have much better case compatibility than 0305 due to their shorter height.
Sometimes the plate and PCB being pushed a little further away from each other can cause fitment issues when reassembling a case (due to the presence of the hotswap socket lip between the switch and PCB).
For metal keyboards, especially those with flexible plates such as POM and PC, it’s possible for 0305 sockets to cause electrical bridging between the socket and the bottom of the case. This can be prevented by using 7305 or 3305, which do not stick out further than a regular MX switch pin would, or by using insulating material as a buffer between the PCB and bottom case. Materials such as dense foam, thin rubber, or kapton tape work well.
Key Switch Compatibility
Not all switch pins are built the same - some switches (such as Kailh) have wide switch pins. Due to the tight tolerances involved in using Mill-Max sockets, some switches are NOT compatible with Mill-Max sockets as the switch pins are too wide to fit.
u/Keybonbon maintains a compatibility chart available here Mill-Max Hotswap Keyboard Switch Compatibility (0305 and 7305)
PCB Compatibility
Most PCBs are compatible with Mill-Max sockets, however some PCBs (such as the Fuji65 PCB) use a larger hole for the switch pins, meaning that the PCB is not compatible with Mill-Max sockets.
Soldering Sockets
Due to the much shorter height of 7305 and 3305 sockets, they are more difficult to solder. It can be easy to flood the open end with solder, which will harden inside the socket, causing it to no longer function. When soldering 7305 and 3305 sockets it is recommended to use solder wire that is 0.51mm in diameter or less. On your first few boards you will definitely flood some sockets, so make sure you have more sockets than you need.
How to Solder Mill-Max Sockets
- Firstly insert your sockets into the PCB.
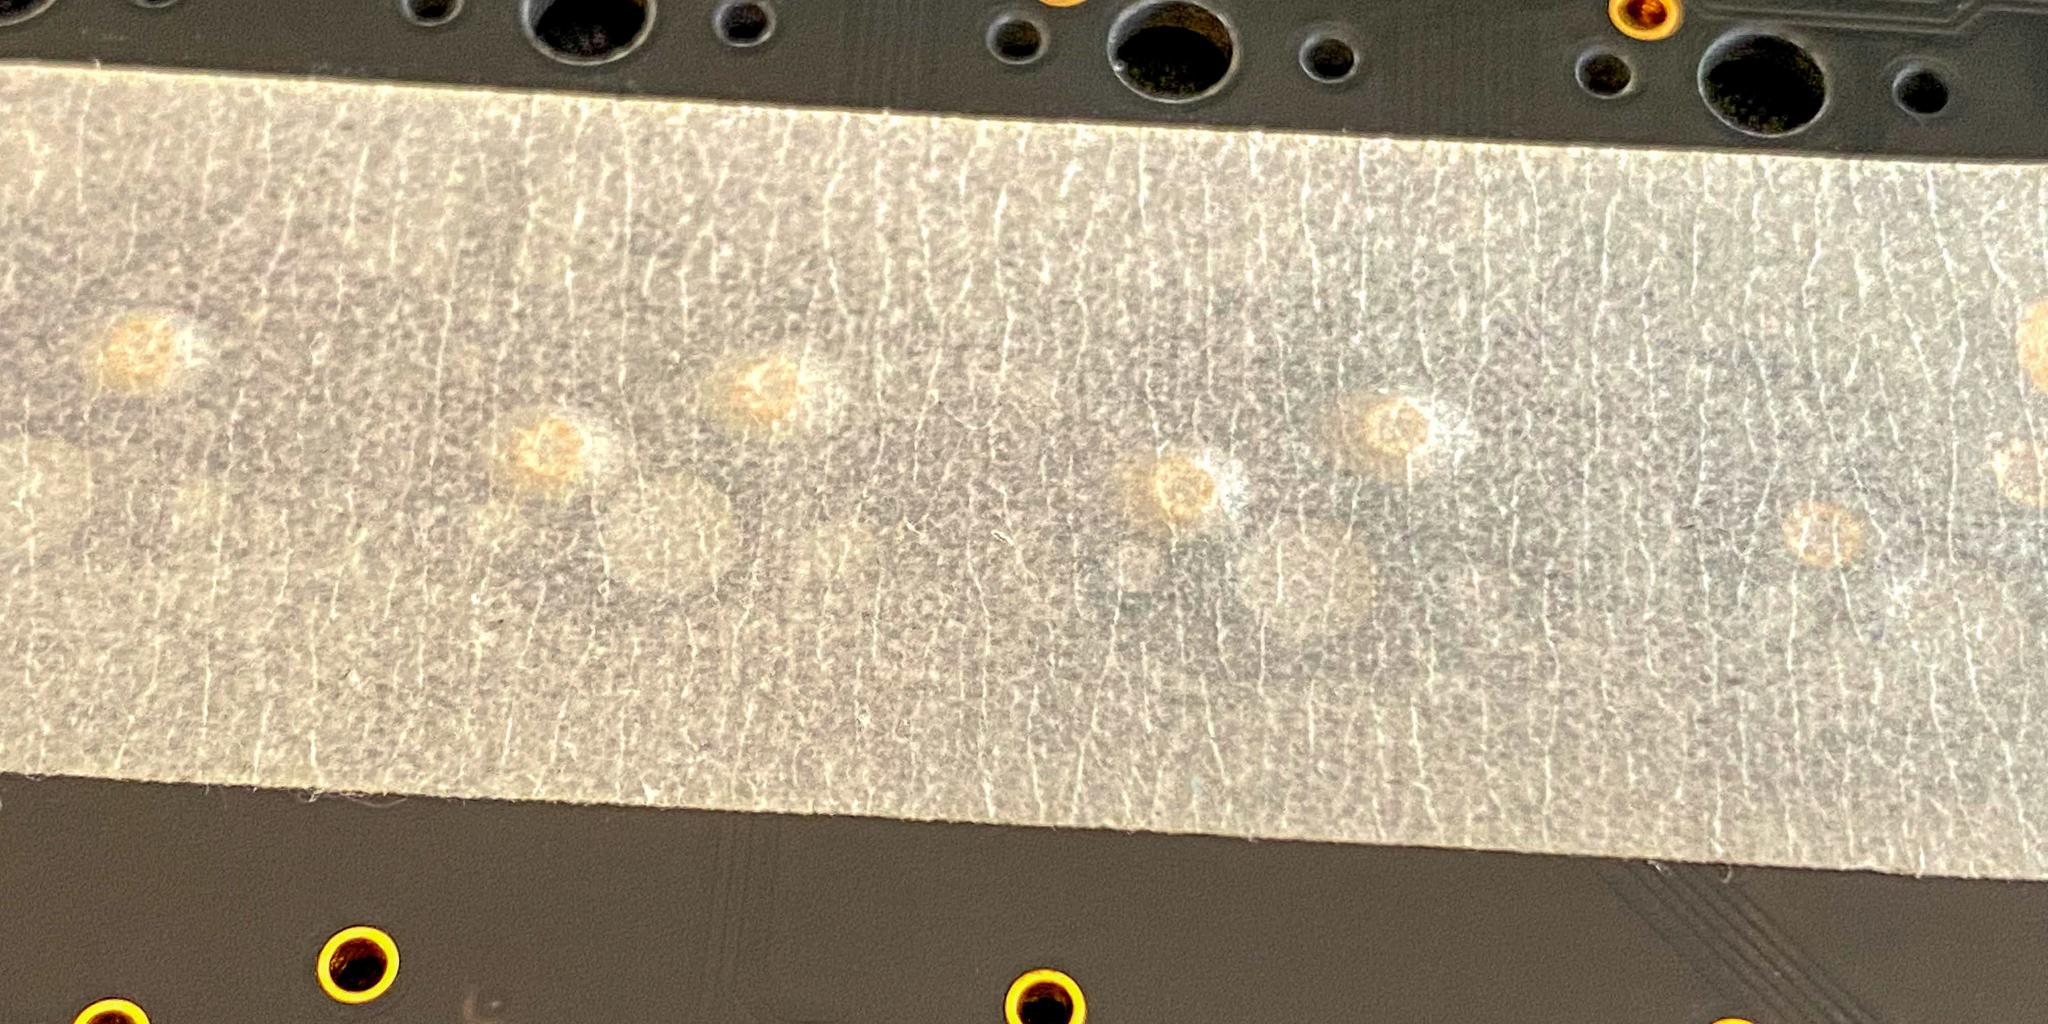
- Now put masking tape over the top, and rub your finger over it to ensure that all the sockets are fully flush with the PCB and that the tape is firmly sticking to the PCB.
- Now flip the PCB over, and you can see the tails of the sockets poking through.
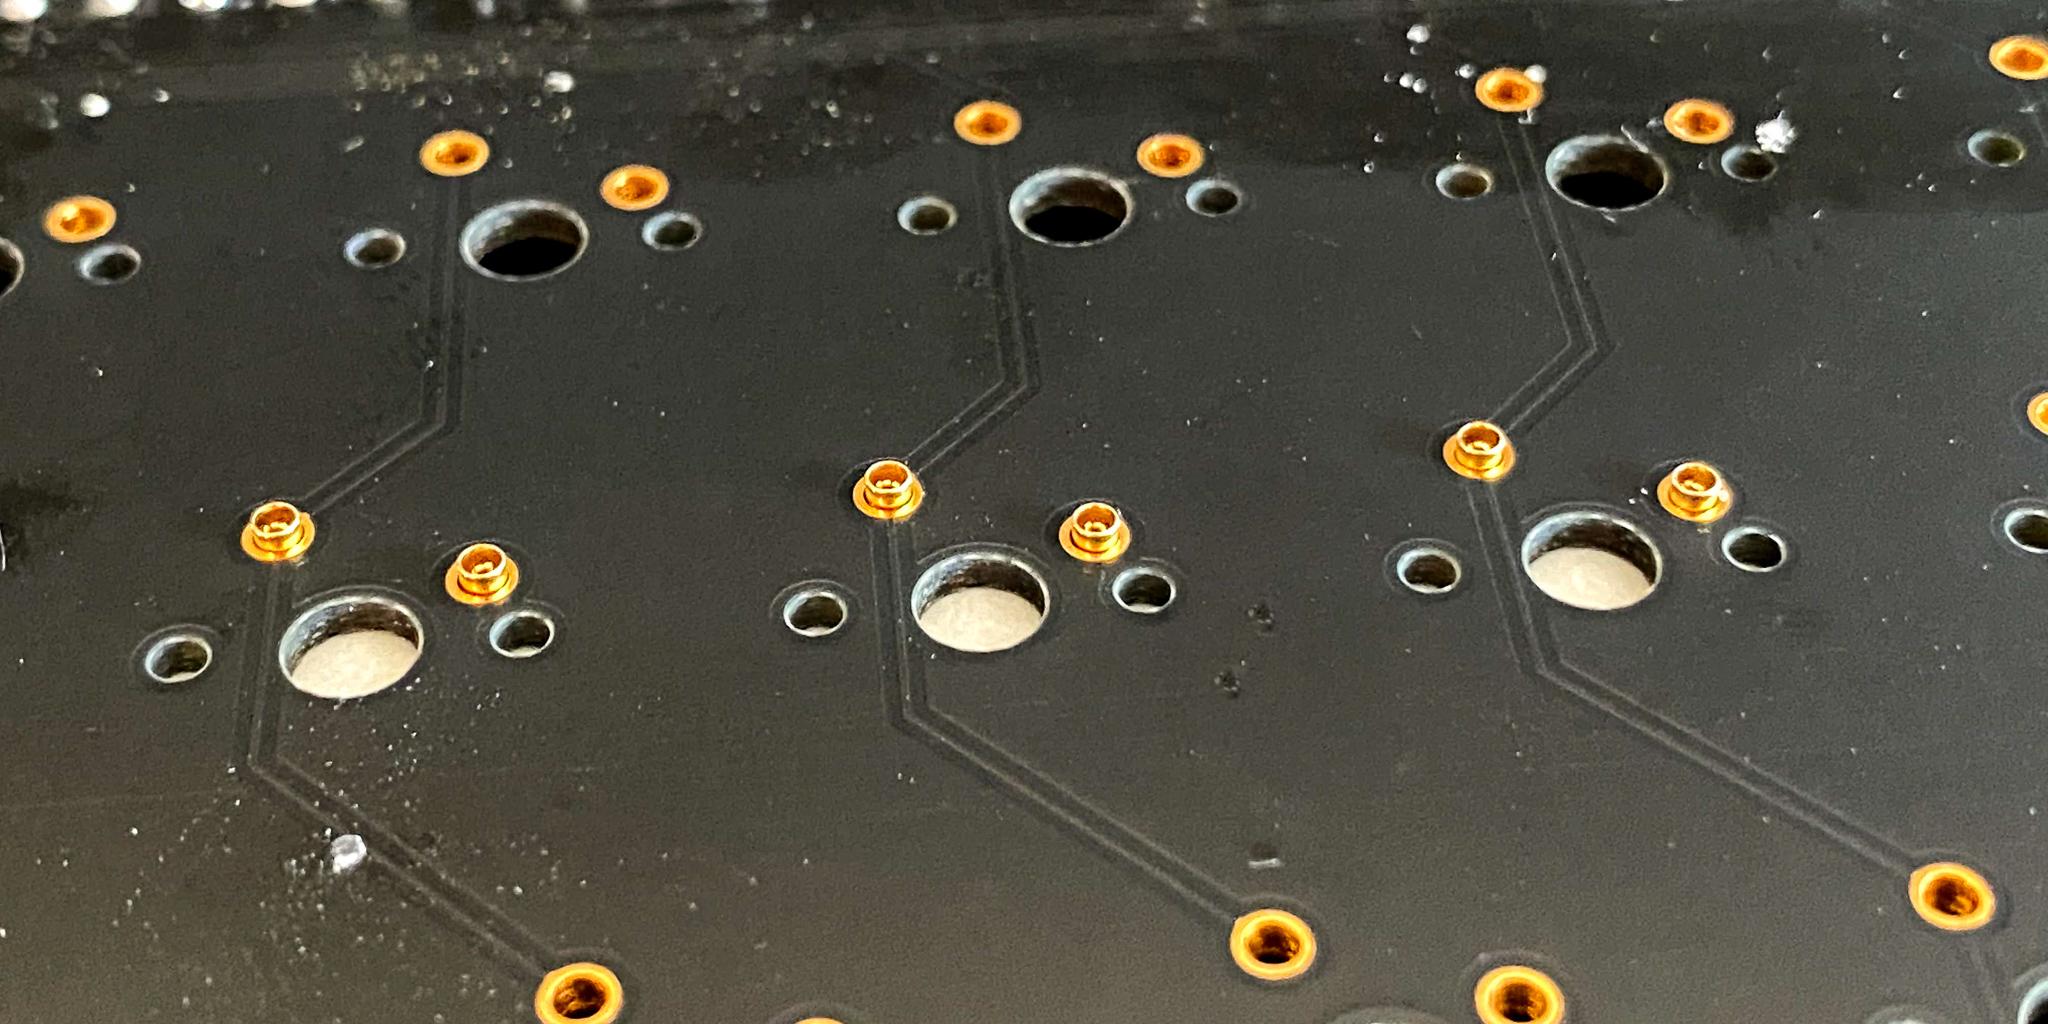
- To solder, place your soldering iron tip to one edge and is mostly flush with the PCB, then feed the solder wire under the tip. Feeding solder under the soldering iron tip ensures that as it melts it flows around the socket and not into the socket.
Once you have some solder around the sockets, you can keep the soldering iron tip in place and feed solder into the opposite side of the socket - the socket and surrounding solder will be hot enough to melt your wire without it being near the soldering iron.
Keep the soldering iron in place for 0.5 - 1 seconds after removing the solder wire for cleaner solder joints.
Video Tutorial
KeyBonbon on YouTube has an excellent video showing how to solder and de-solder the Mill-Max sockets and also does some testing with different switches.
