STeMcell
Flashing
Resetting the controller for flashing
You have a few options for putting the STeMcell into flashing mode
- Short RST and GND pins on the controller itself
- Double tap the physical reset switch on the keyboard pcb itself
- Use the QMK reset keycode
Flashing the firmware itself
Given this is using the tinyuf2 bootloader, flashing is VERY simple. When you go into flashing mode, a window will pop up on your machine (like putting a USB drive into your machine). All you need to do is copy the .uf2 file into the root directory, and you’re done!
Soldering
STeMcell Jumpers
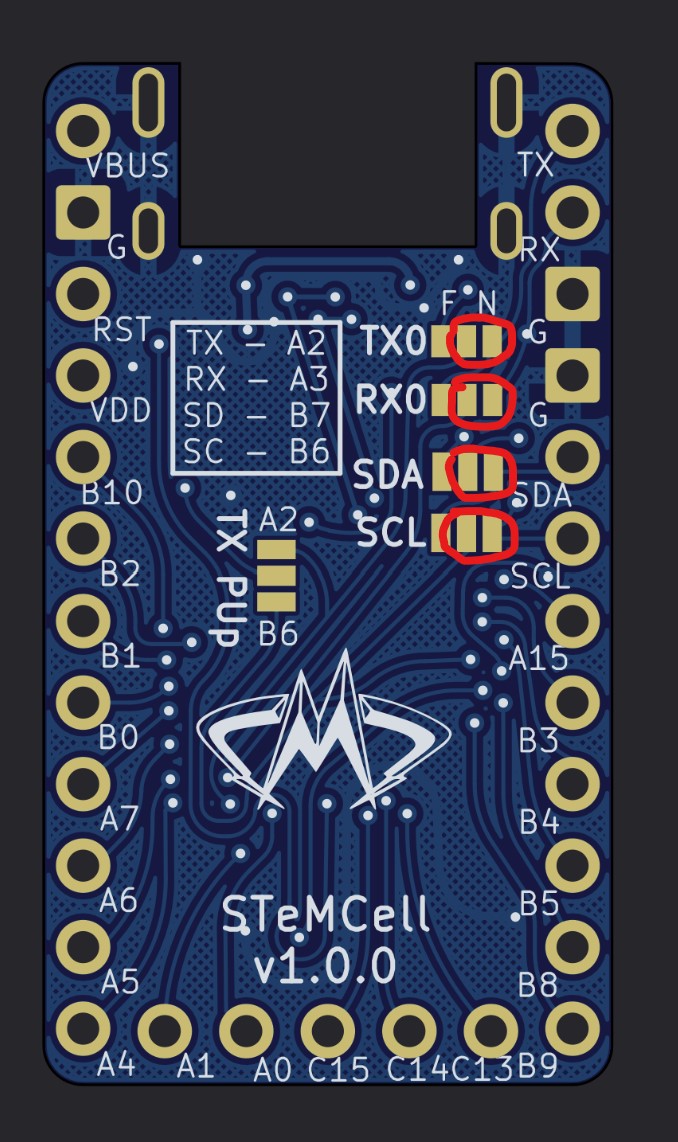
The first thing you should do is solder the jumpers on the back of the STeMcell, as shown in the image below.
Testing
Before soldering the controller onto your pcb, you may want to test that you soldered the jumpers correctly.
If you are concerned that you may have incorrectly soldered the jumpers on the back of the stemcell, you can use this firmware to test.
Download the testing firmware
- Load it onto your stemcell
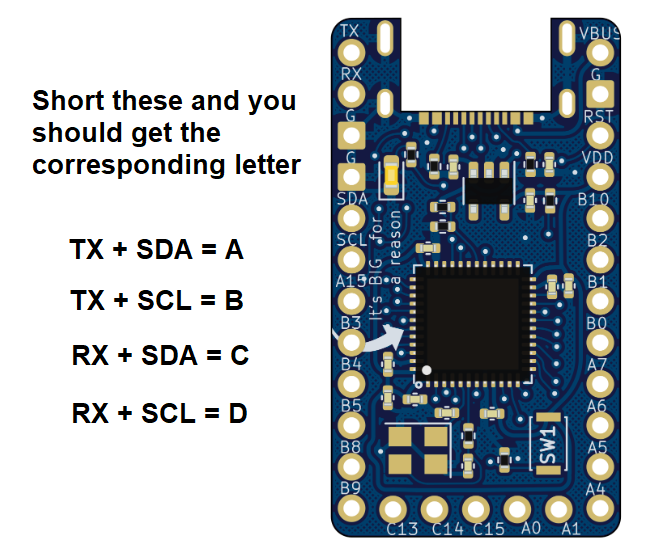
- Short the pins shown in the image below
If it outputs what is expected, you did it!