Dumbpad Build Guide
Parts List
Here’s a list of parts needed for the build:
-
Kit Includes:
- 1 x Dumbpad PCB
- 1 x OLED Display
- 17 x Diodes (through hole)
- 1 x 6x6 Tactile Switch
Not included in the kit but required to complete:
- 1 x Pro Micro Controller
- 14-16 x MX or Alps Switches
- 14-16 x Key Caps
Build Steps
- Prepare Diodes
- Install Diodes
- Solder Pro Micro Headers
- Install Pro Micro Controller
- Solder OLED (Optional)
- Solder Switches
- Solder Encoders (Optional)
- Case Setup
1. Prepare Diodes
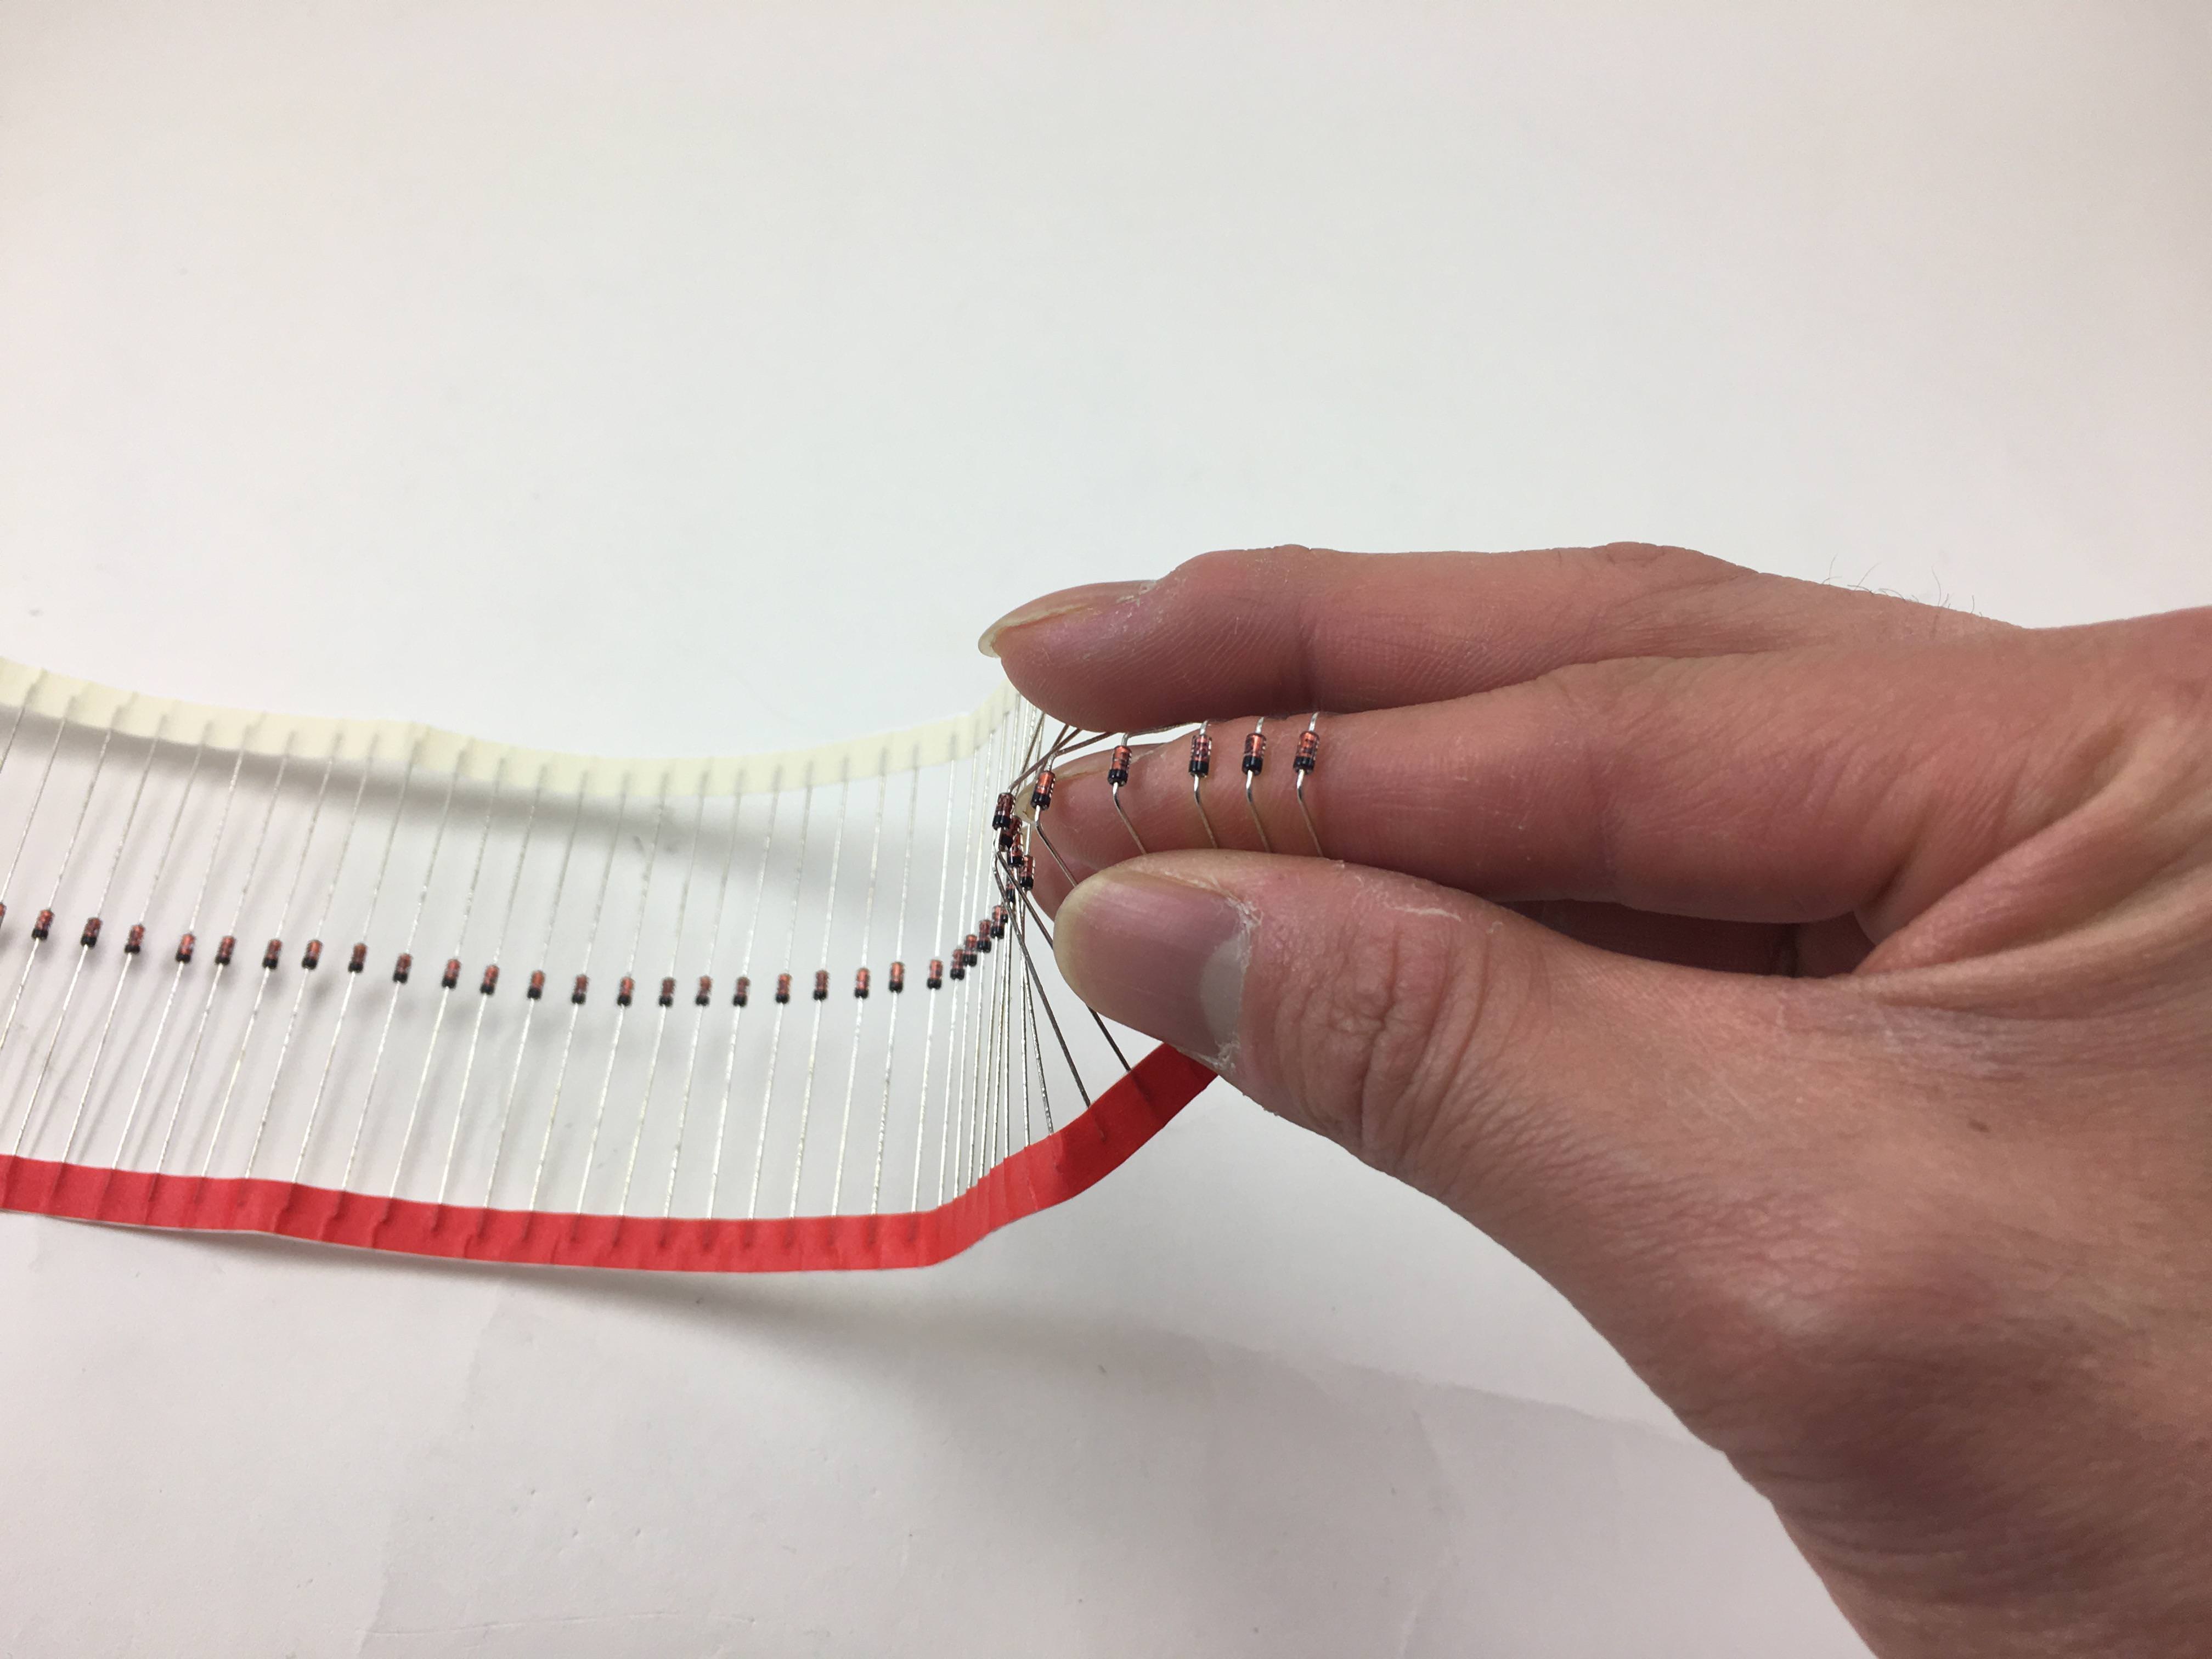
If you’re using through hole diodes, bend them into shape. Here, I’m just bending it around my finger
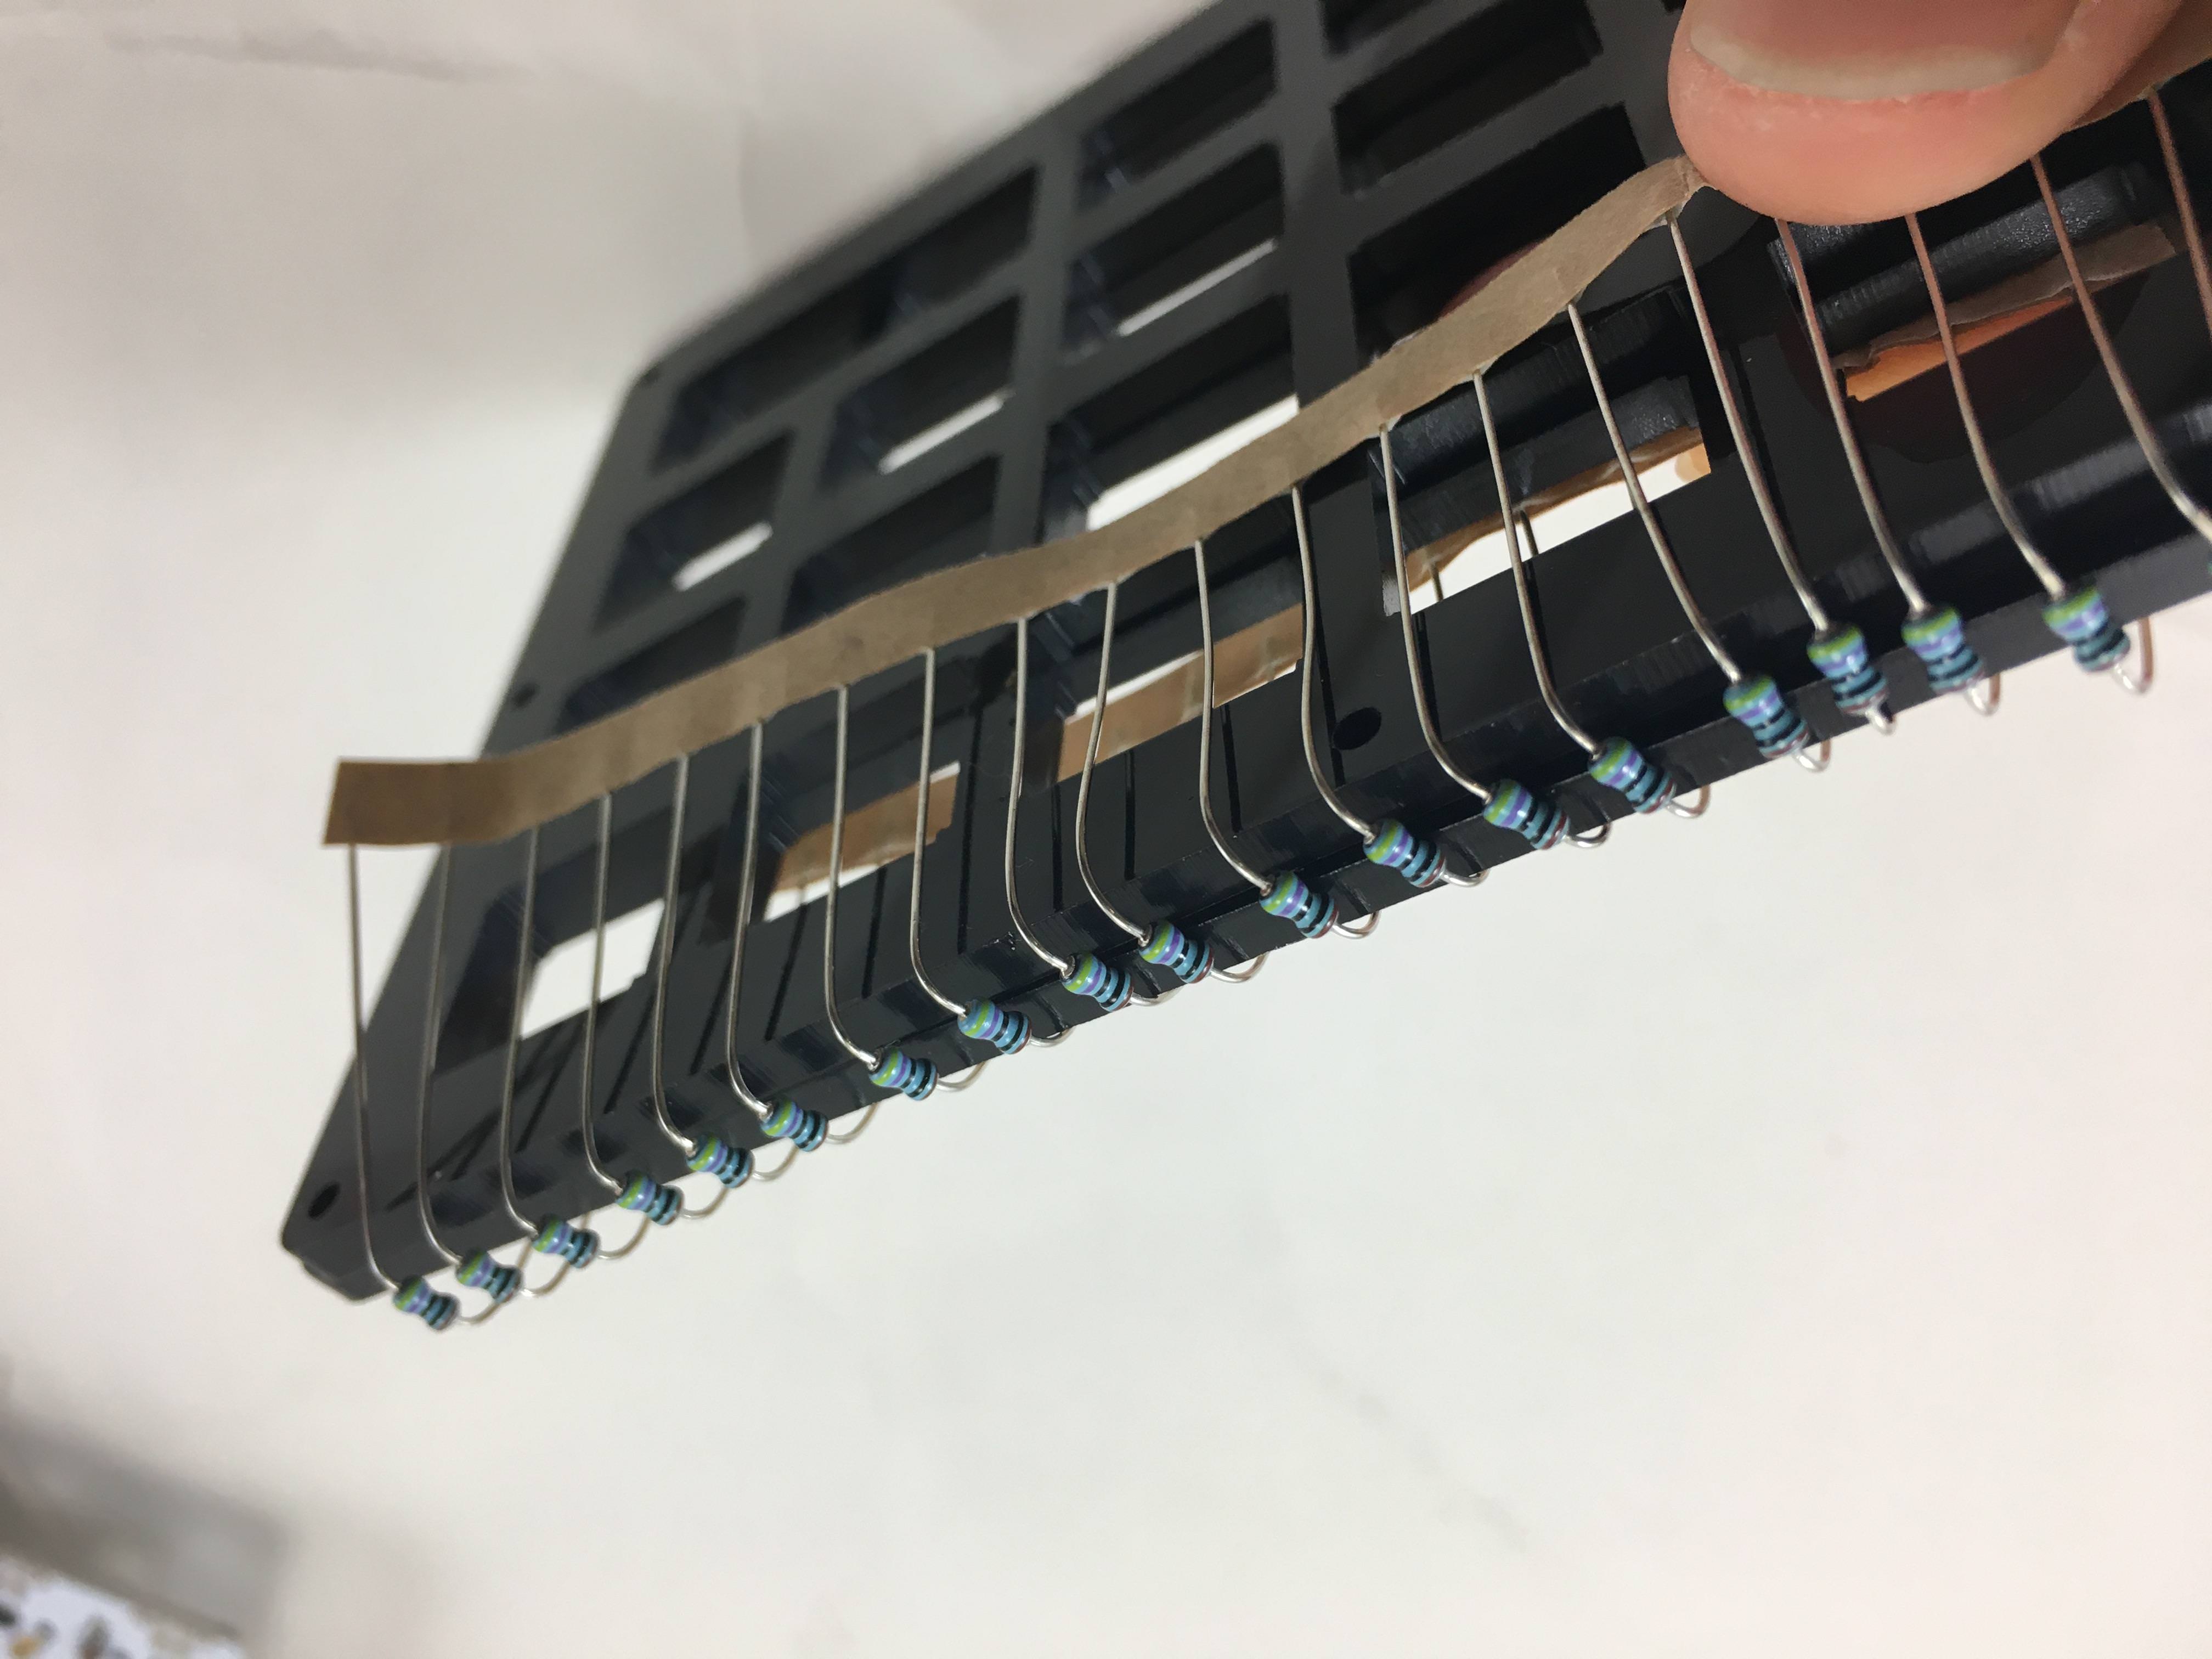
Another way to do it, resistors shown here

Strip of diodes bent
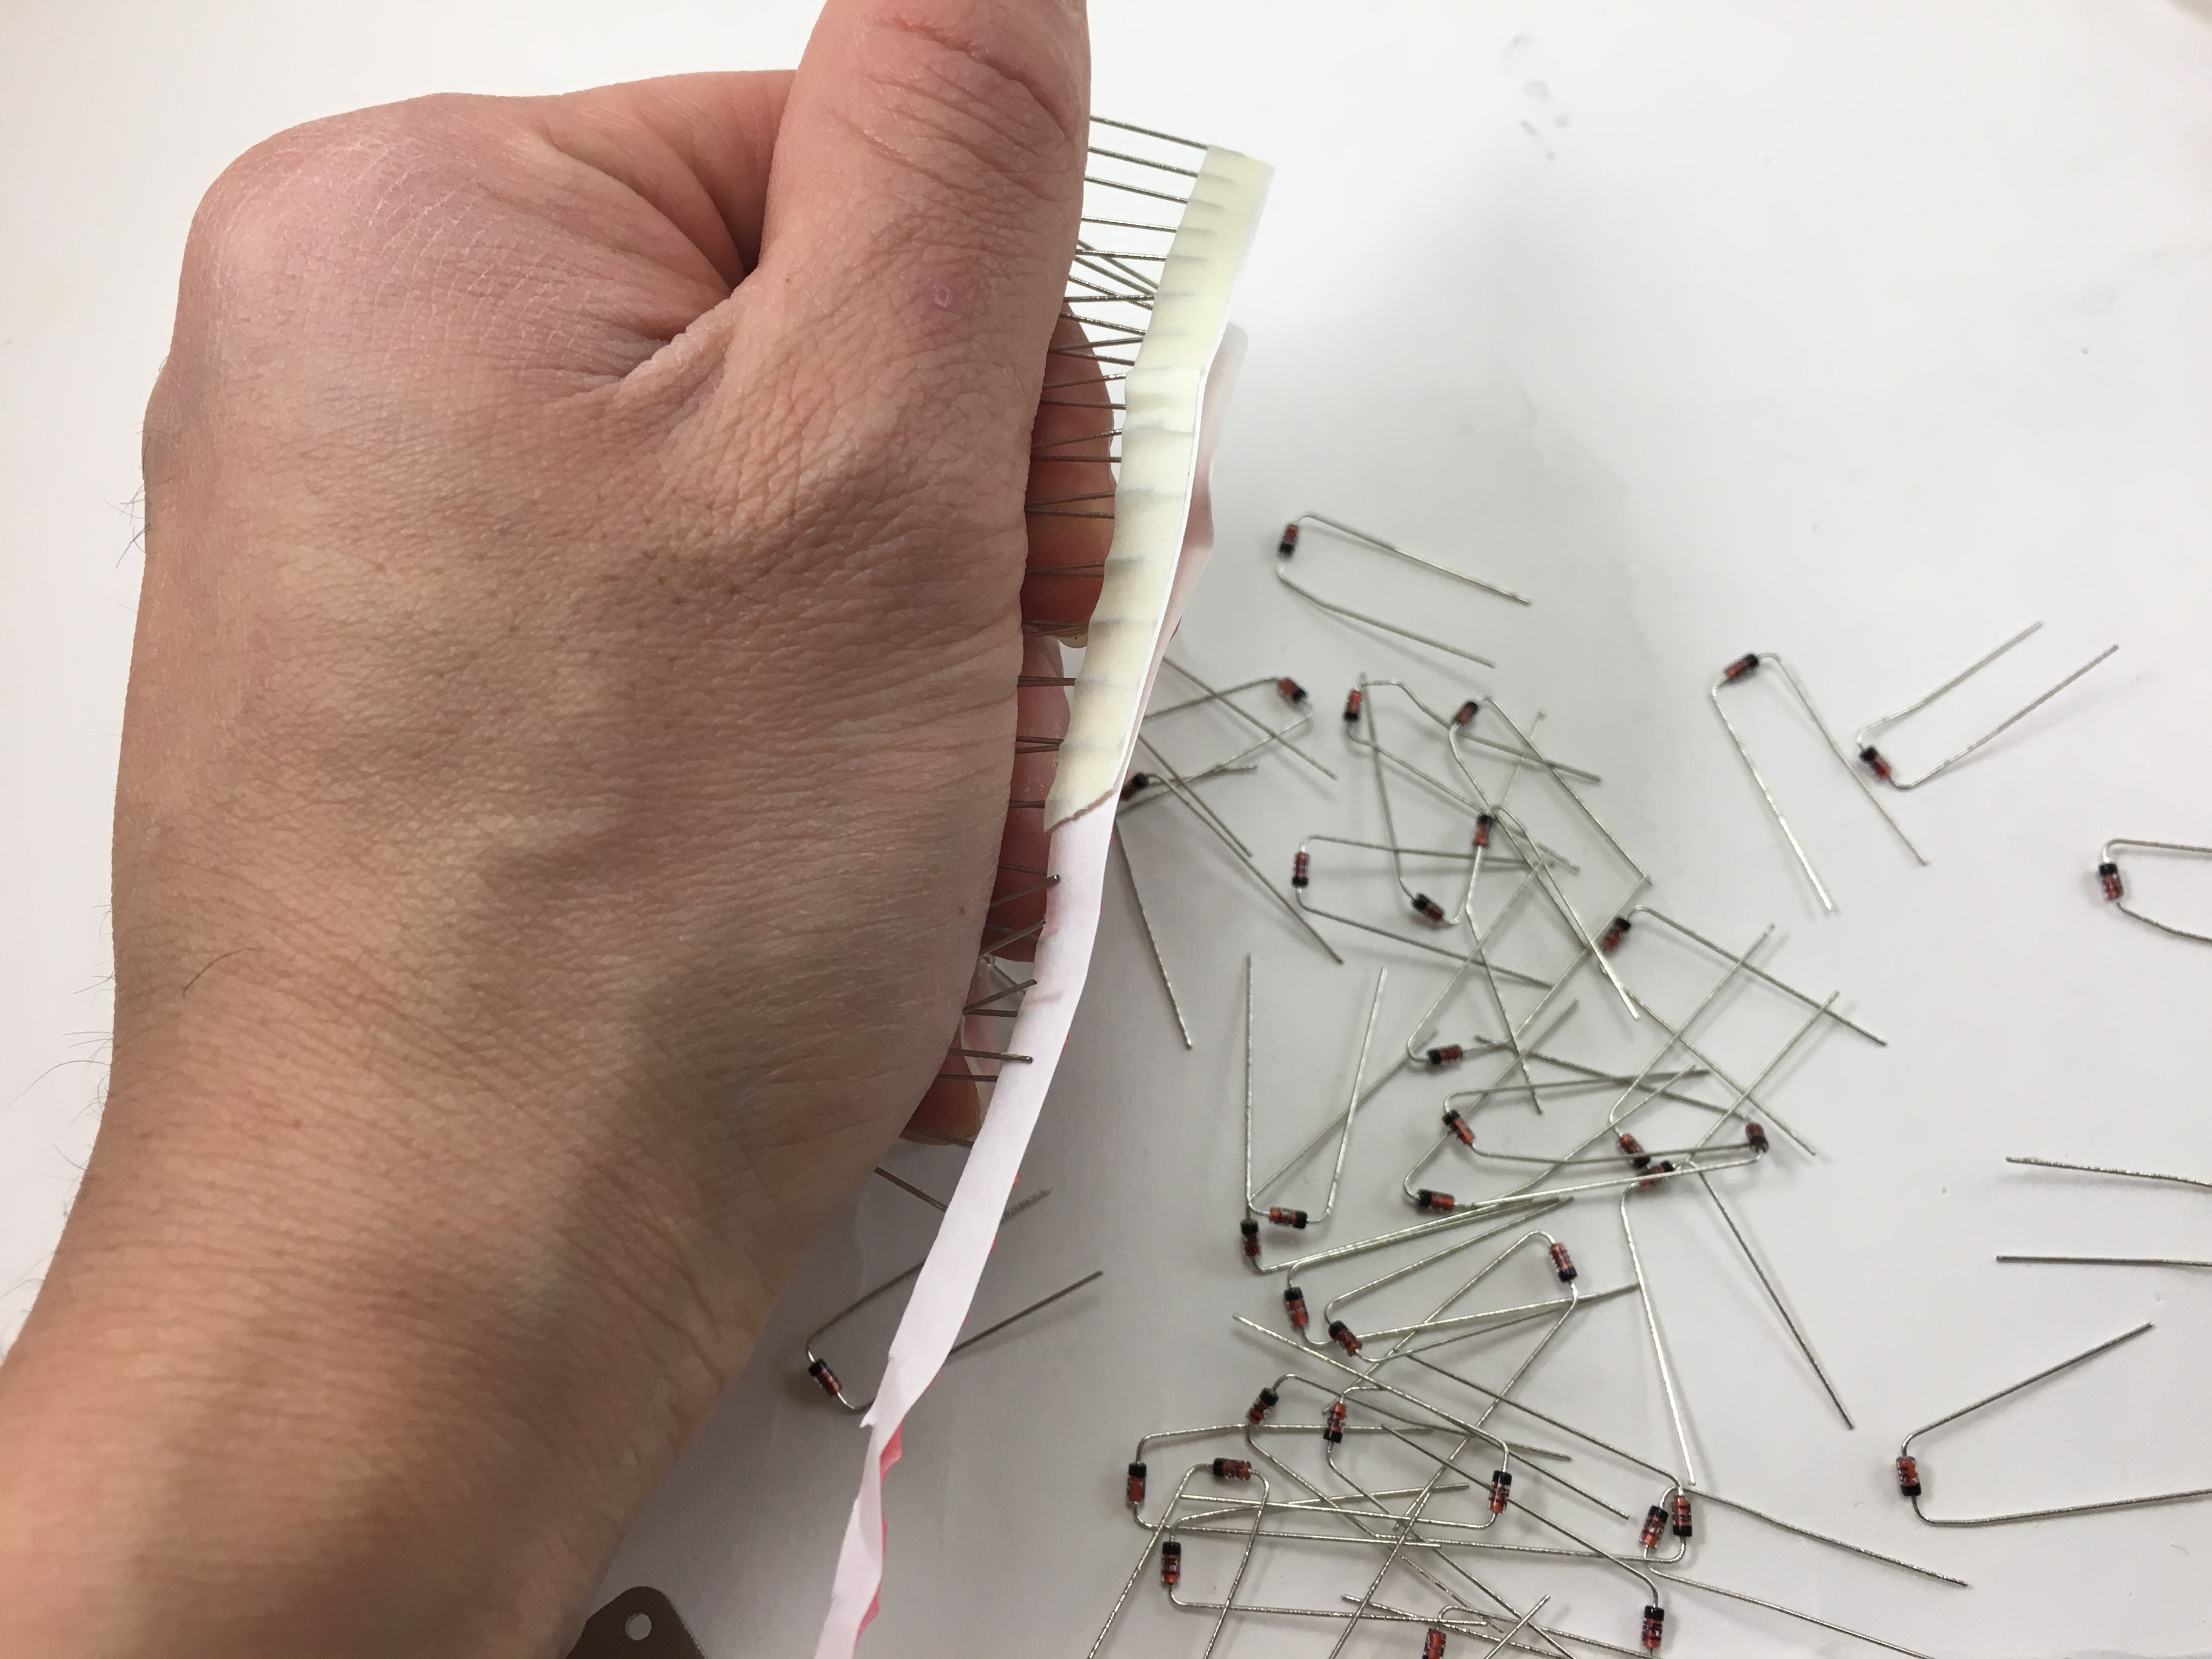
Ripping off the paper holding all the resistors together. Grip the diodes tightly so they don’t bend as you’re ripping the paper off.
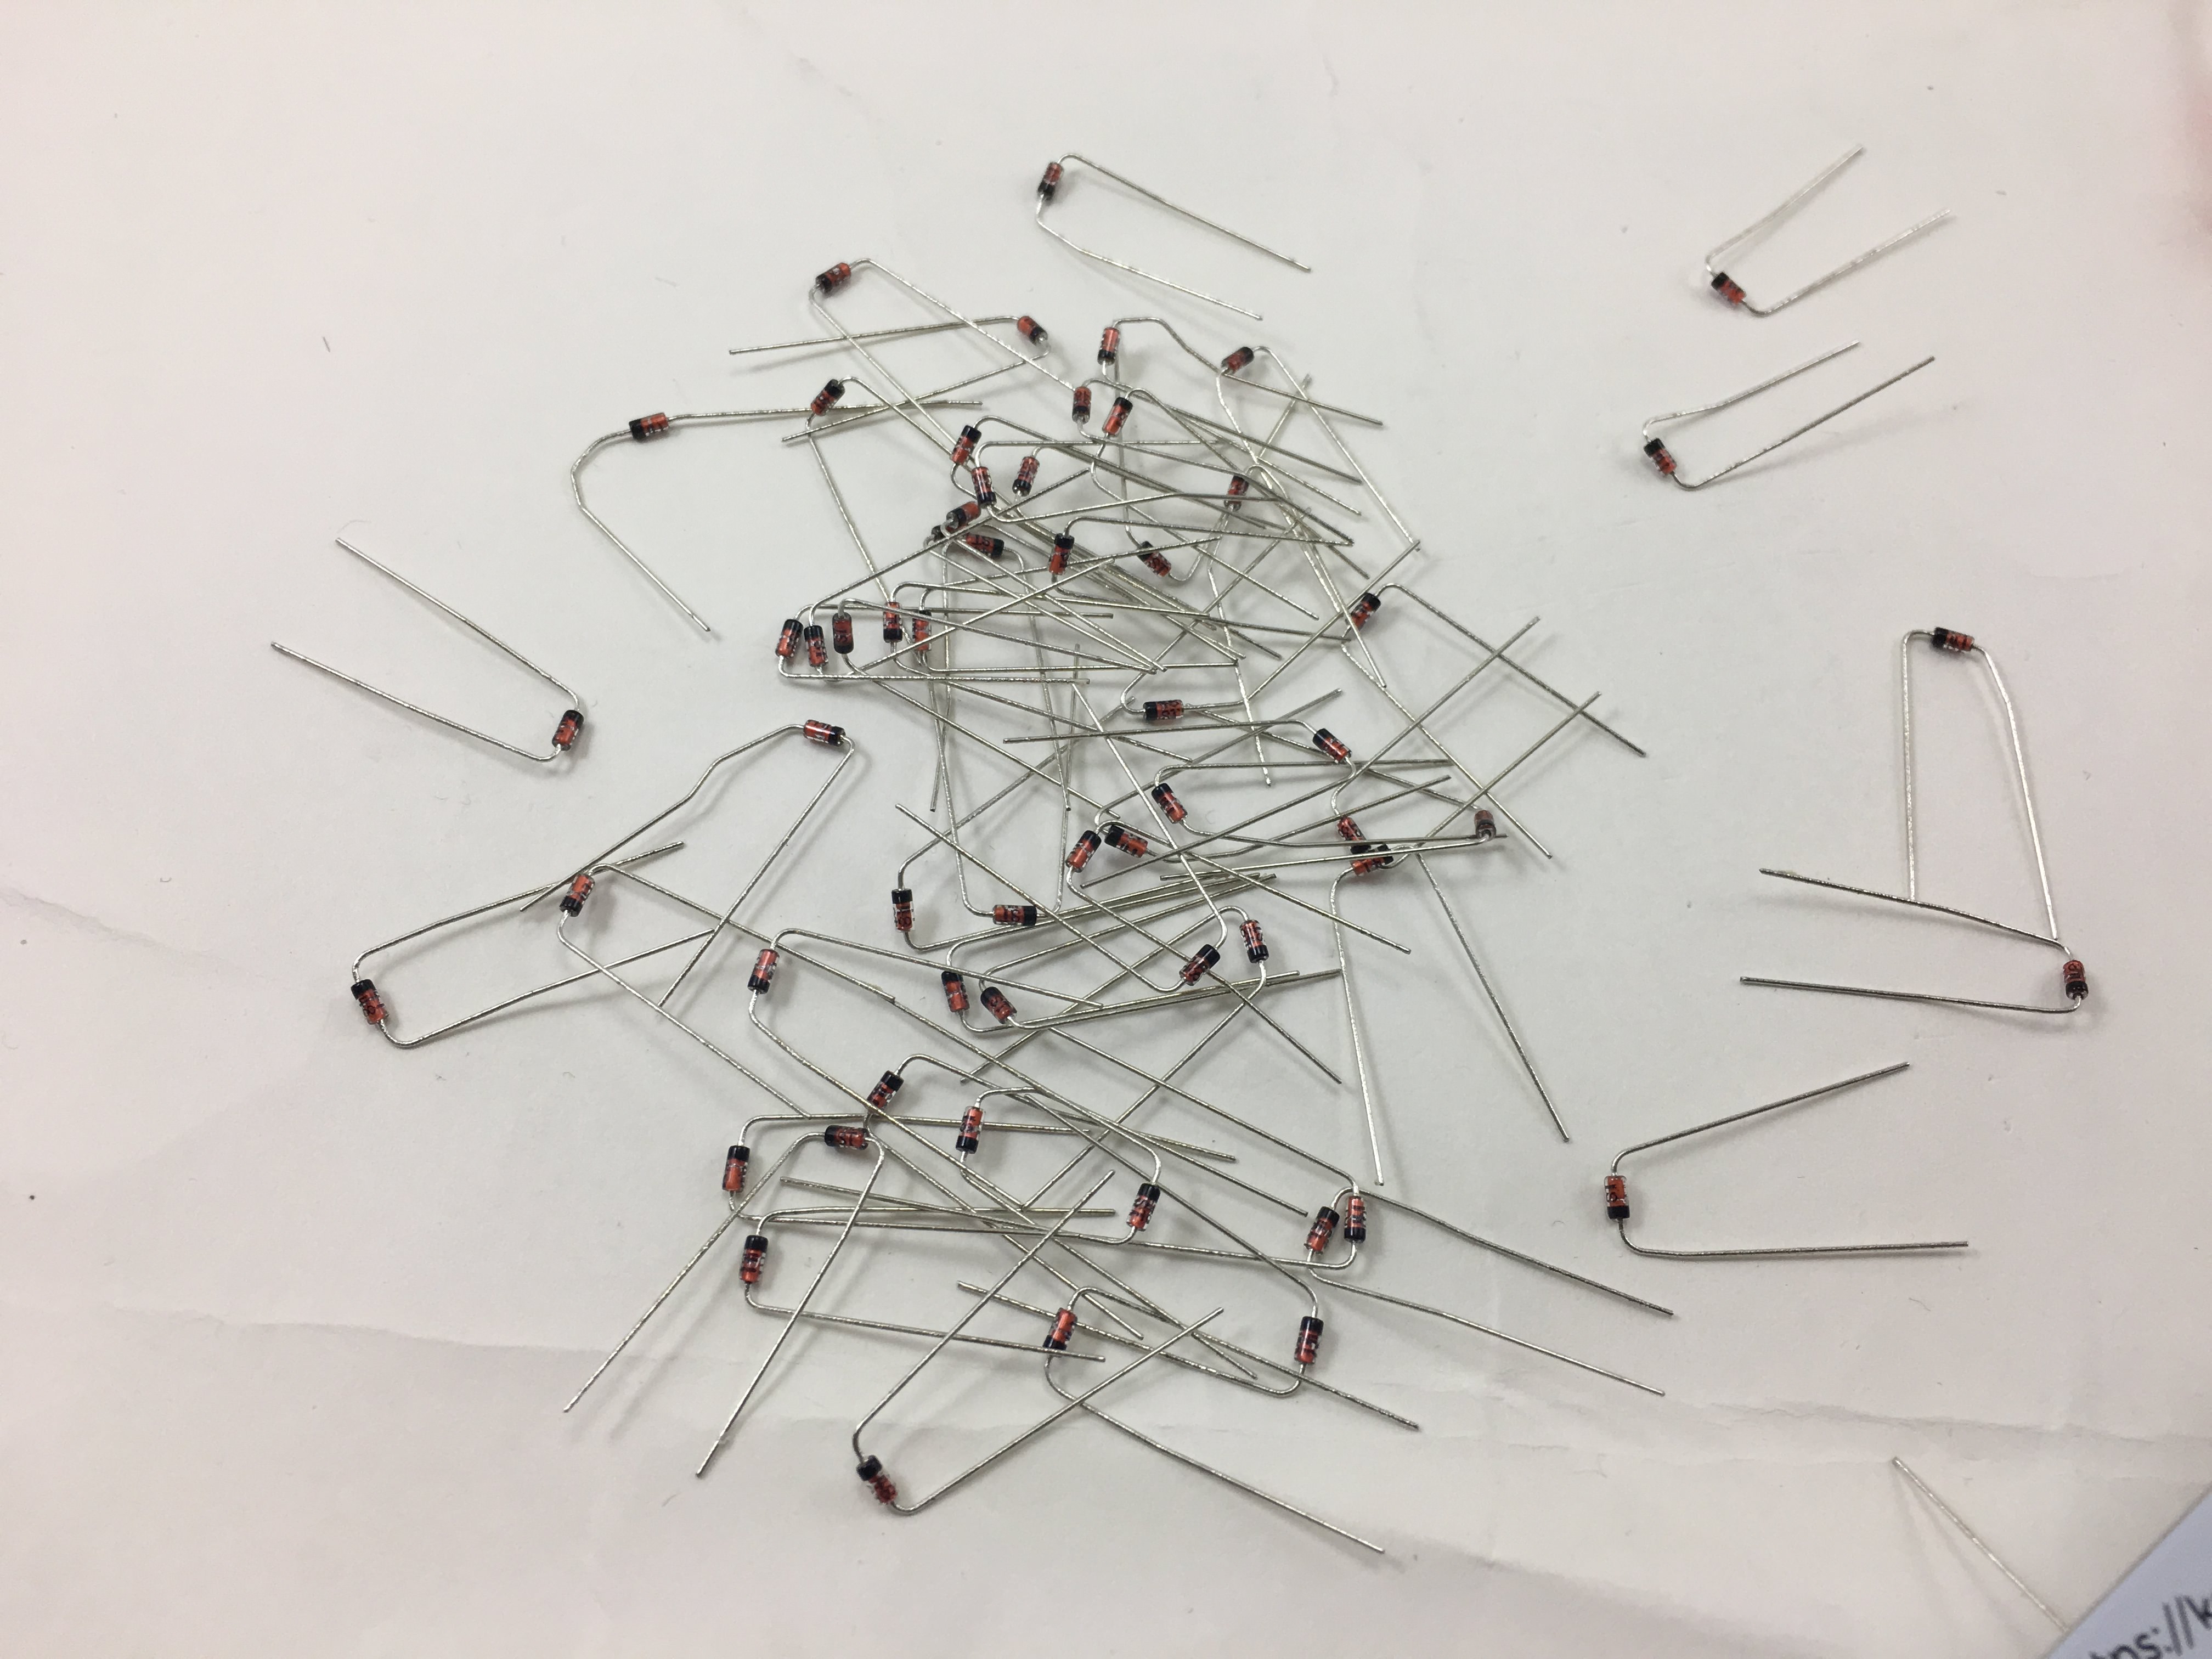
All separated from the paper
2. Install Diodes
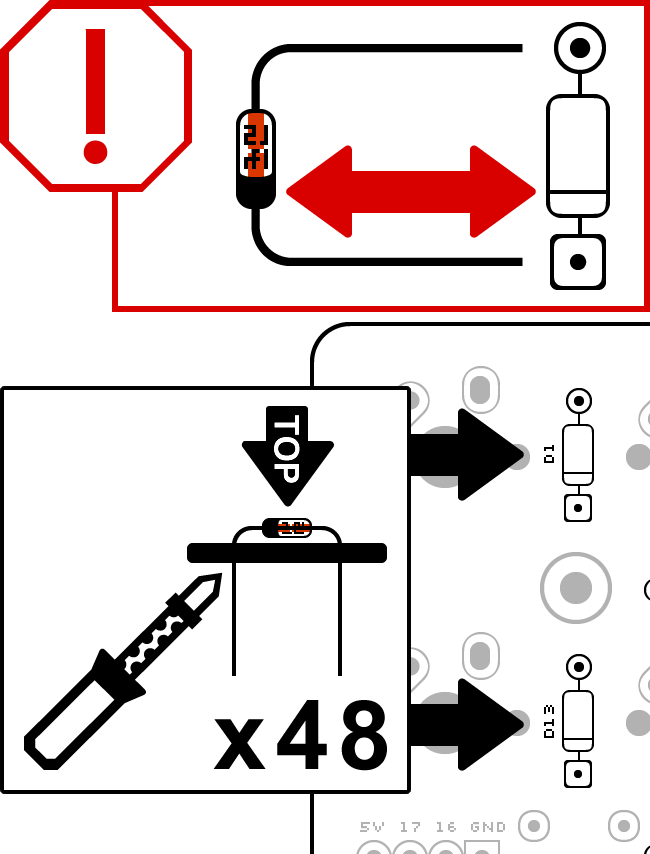
Install diodes to the top of the PCB. Solder diode pins where they stick out of the bottom of the PCB. 48 diodes must be used for all switches to function.
Diodes are direction sensitive. Be sure to install all diodes with the black side aligned to the side with the square solder pad and line through the diode outline (as shown in illustration).