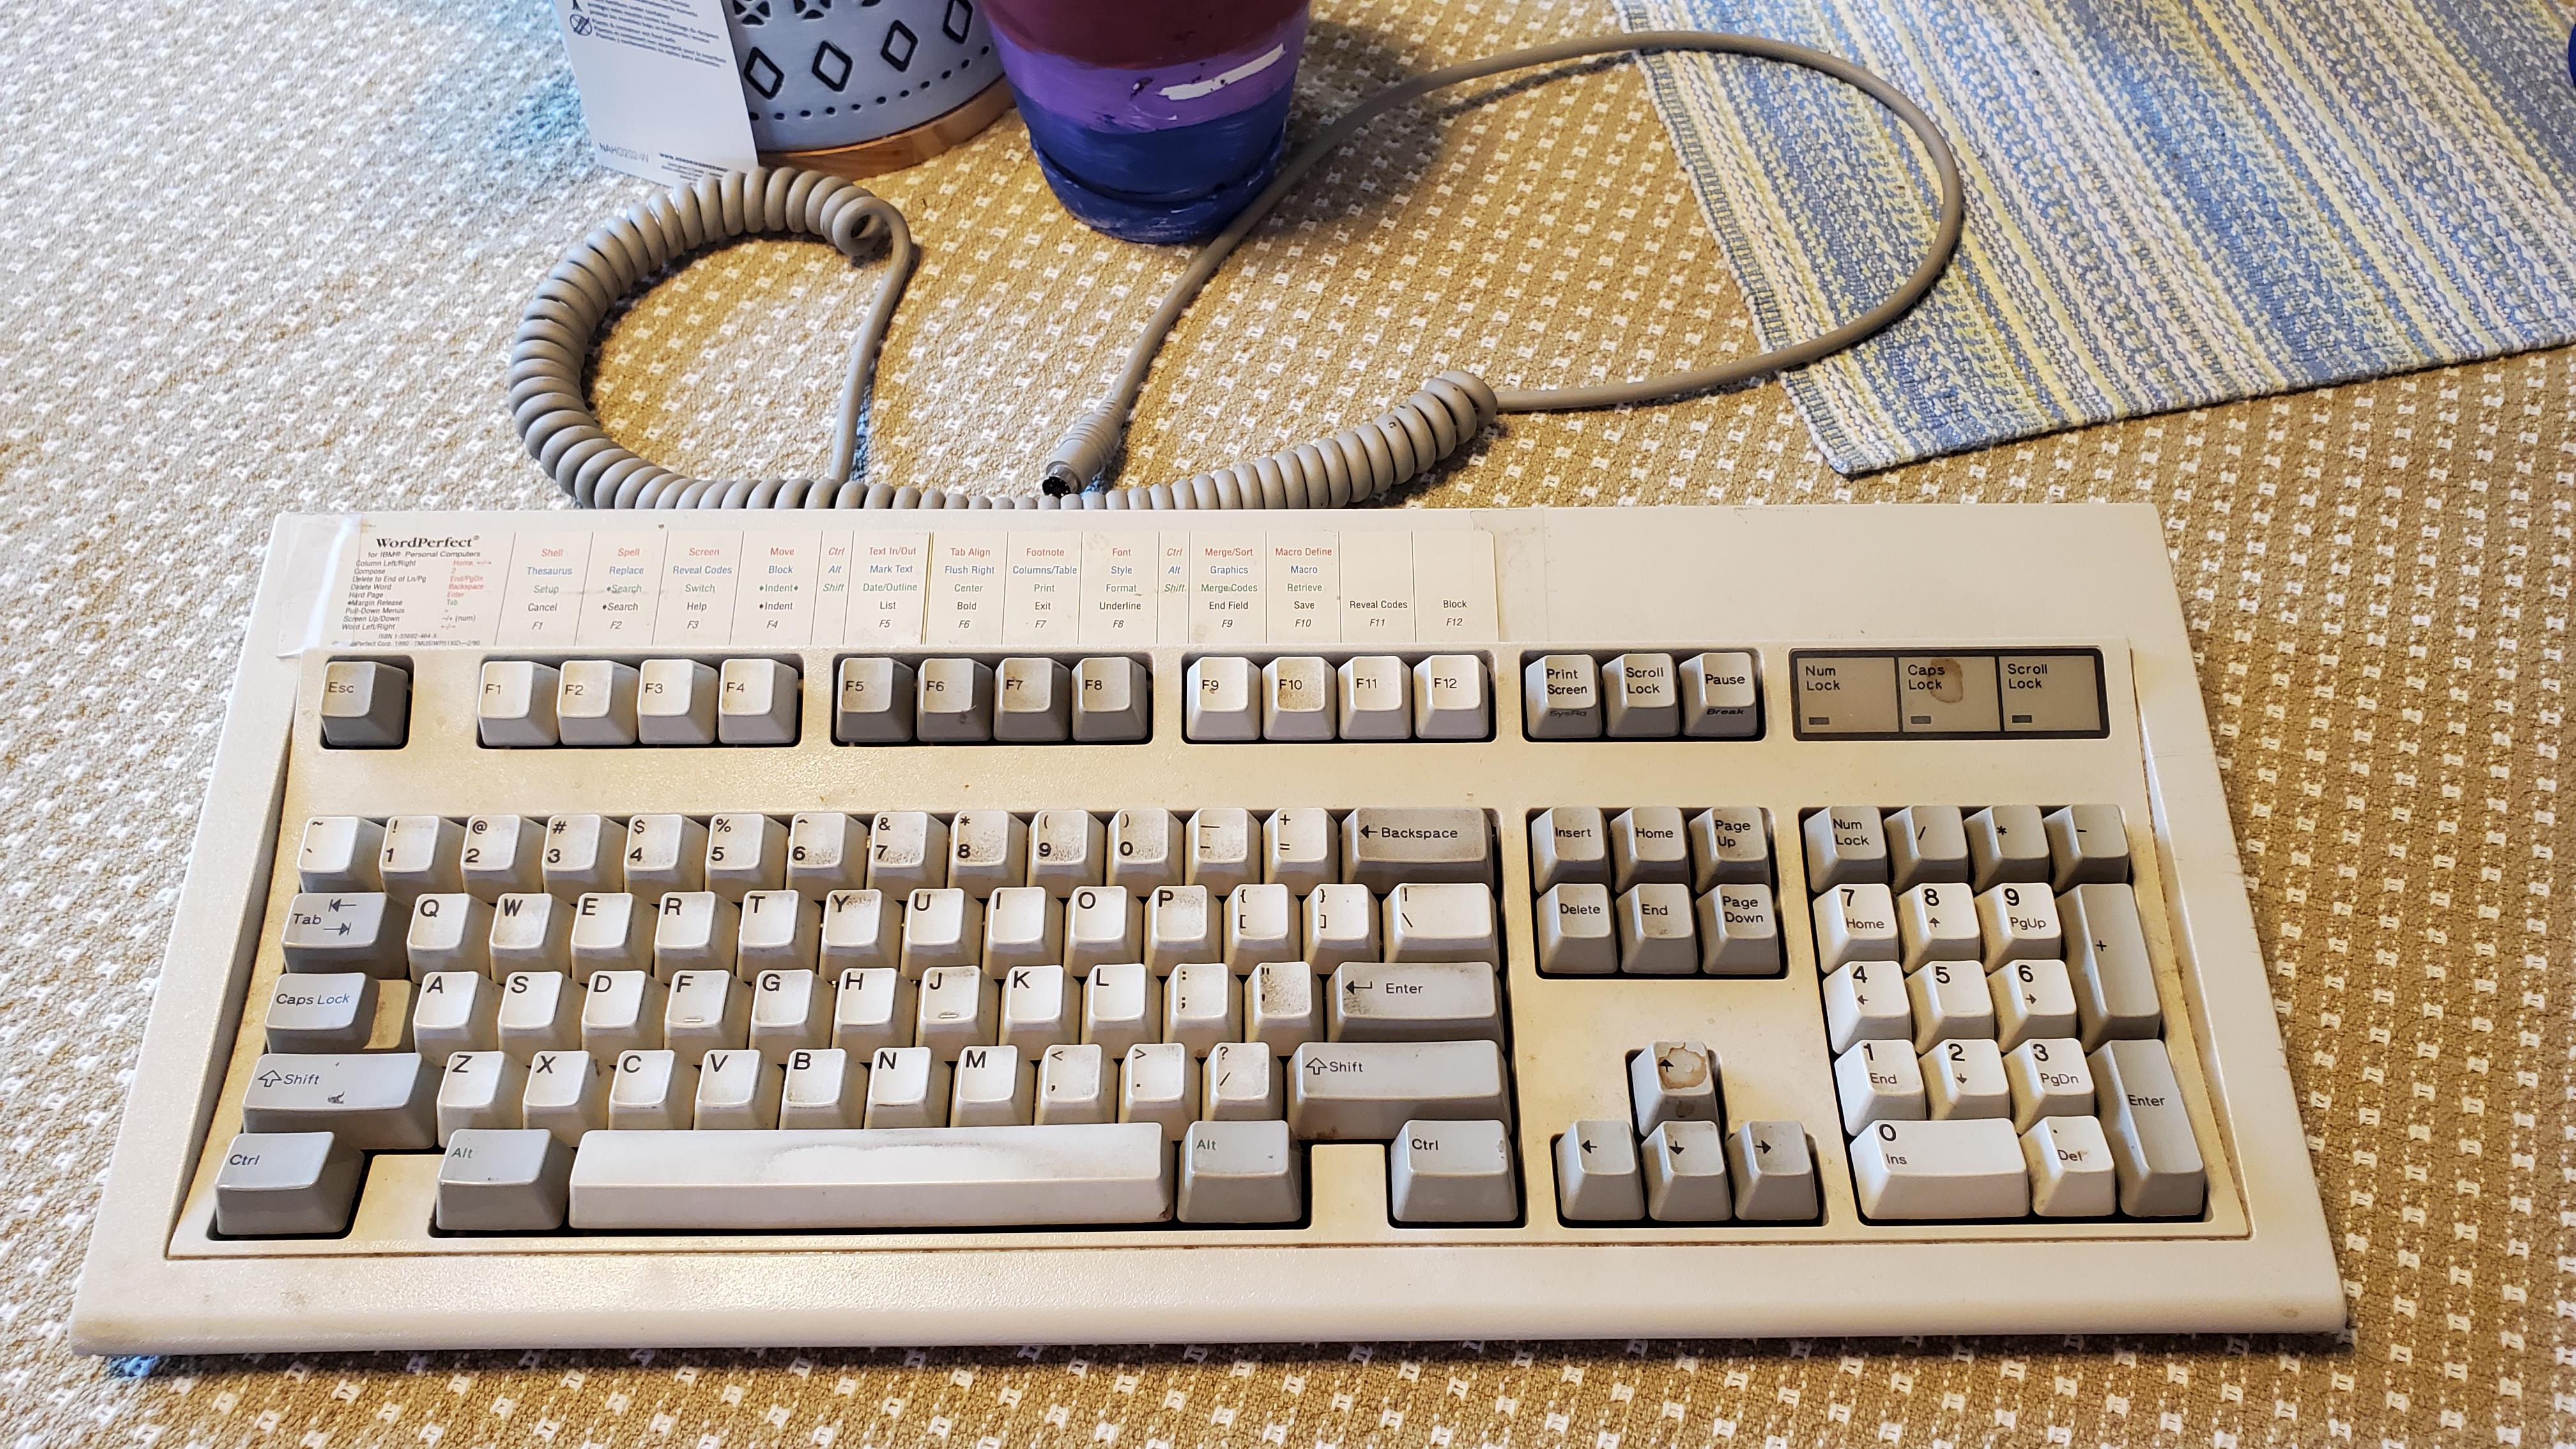
IBM Model M Cleaning / Modding

Easy mode
Remove all the screws from the bottom of the case using a 5.5mm nut driver.
Separate the top housing from the bottom and carefully remove the ribbon cables from the controller board (these are zero insertion connectors, so no tabs/latches to worry about).
Separate the keyboard assembly from the bottom housing and put it to one side.
The controller board will either be screwed onto the keyboard backplate or attached to the bottom housing. Either way, remove it, and if there is a grounding wire connecting the controller board to the plate, unscrew it.
Remove all the keycaps and put them in warm, soapy water; personally I only clean the top piece of the two-piece keycaps as the other piece should be clean and water can leave deposits on the sliders which may introduce friction and make the keypress feel less smooth.
Scrub the top and bottom housing vigorously with warm soapy water inside and out.
Carefully clean between the barrels on the barrel plate making sure not to get any water inside the barrels as this may damage the membrane.
Put the keycaps back on once everything is clean and dry, then start to reassemble the keyboard in exactly the reverse order from how you disassembled it.
Hard mode
Same as above, but including a bolt mod which will improve the feel of your Model M, particularly if a lot of plastic rivets on the backplate have broken off already.
Once the keyboard is fully disassembled and the keycaps removed, remove all plastic rivets from the backplate using a small blade.
When all plastic rivets have been removed, the metal backplate should come apart freely. Do not try to force it, if it doesn't come off it probably means you missed a rivet; most likely under the birth certificate sticker.
Carefully remove the membrane assembly and the dampening mat from the barrel plate (may have come off with the metal plate already).
Clean the membrane with isopropyl alcohol and scrub both sides of the metal plate with warm, soapy water.
Take a photo of the underside of the barrel plate with the springs still attached so you know where to put them back in later, then remove all the springs and put them to one side.
Clean the barrel plate with warm, soapy water.
Using flush cutters, start removing all the plastic posts from the back of the barrel plate where the rivets were positioned until they are flush with the barrel plate.
Using a 1.6mm drill bit, drill a hole through the barrel plate on every single one of those positions where a plastic post/rivet was present.
Once all holes have been drilled, begin screwing in 8mm length M2 screws from the top of the barrel plate. They should screw in quite tight; I've seen videos of other bolt mods where the screws are loose; either they're using smaller screws or they used a larger drill bit, but it will be so much easier to reassemble later if the screws are in tight.
Repopulate the barrel plate with the springs, then attach the dampening mat and the membrane assembly. You will need to prop the barrel plate up on something while doing this or the springs will not fall into place.
Line up the metal backplate with the barrel plate + membrane assembly and very carefully push the barrel plate into the backplate to flex it to the same shape as the backplate; if you lined it up properly the screws should start appearing through the holes on the backplate.
Screw on your M2 nuts (with washers) in just a few tactical locations (some in the middle, some around the edges and corners, just enough that the plate won't try to pop off when you let go of the assembly).
Screw them in finger tight for now as you may have to take them off again if any of the springs fell out of position.
Once this is done and the barrel plate and backplate are firmly attached, turn the board around and attach all of your keycaps, making sure all of the springs buckle as expected.
Don't worry too much if some of the keys feel a little less tactile than others; this is most likely because they are in an area of the board without too many nuts attached and there isn't enough tension.
Once you're sure all the switches are good, finish attaching all of your washers and nuts and tighten them evenly.
Do not tighten them too much. If you over-tighten them you may cause the barrel plate to flex so much that they key rows to get too close to each other, and you'll experience interference between keycaps.
This is most common between the two bottom rows. If this happens just loosen a few nuts around the area of interference.
Reattach the controller board and plug the keyboard into your computer to make sure all the keys are still working; then begin to reassemble the board in the reverse order from how you disassembled it.
Congratulations, you have a fresh, bolt-modded Model M, the very best kind of Model M.