Build Steps
1. Prepare PCBs
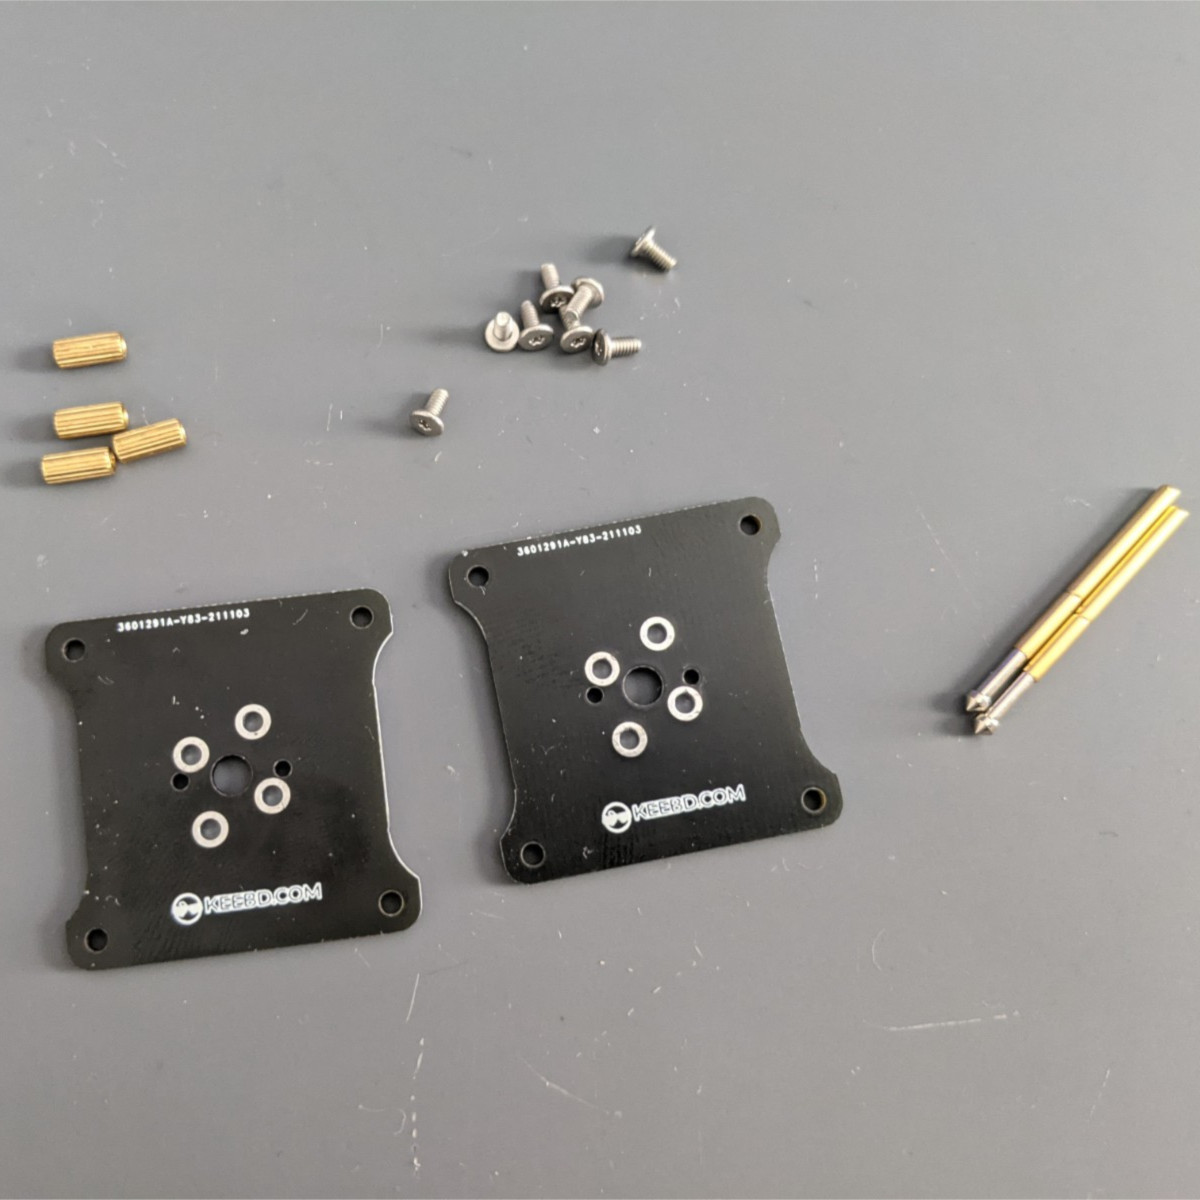
Ensure you have all the components needed for the build.
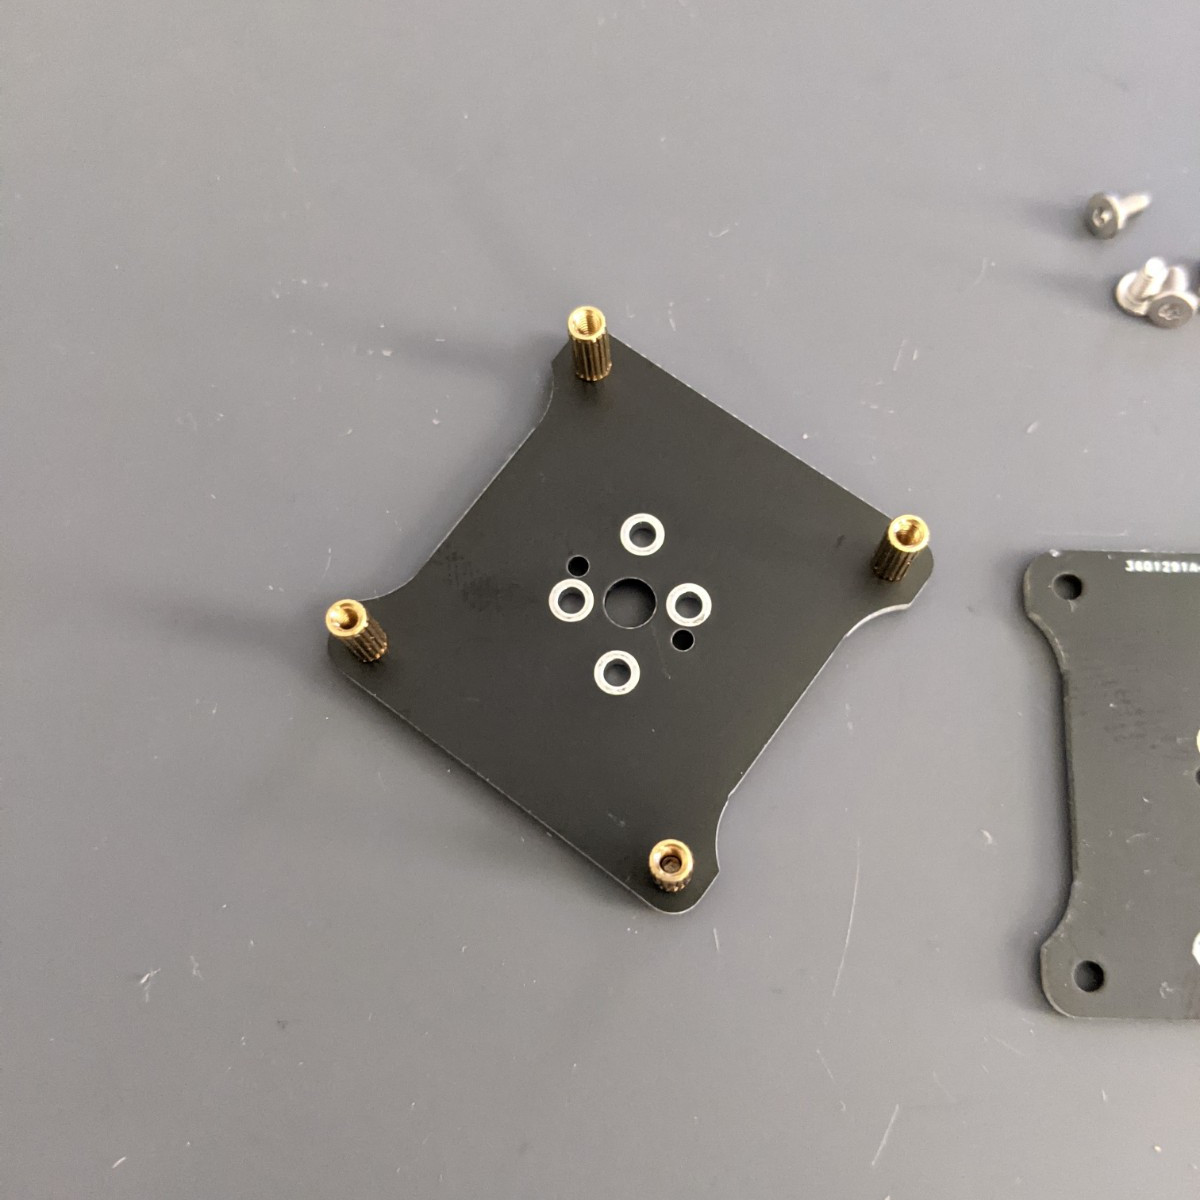
Make sure the PCB has the KEEBD logo facing down otherwise the switch port will be around the wrong way when complete. Use 4 of the 4mm Hex Screws to attach 4 of the 7mm Brass Standoffs to each corner of one PCB.
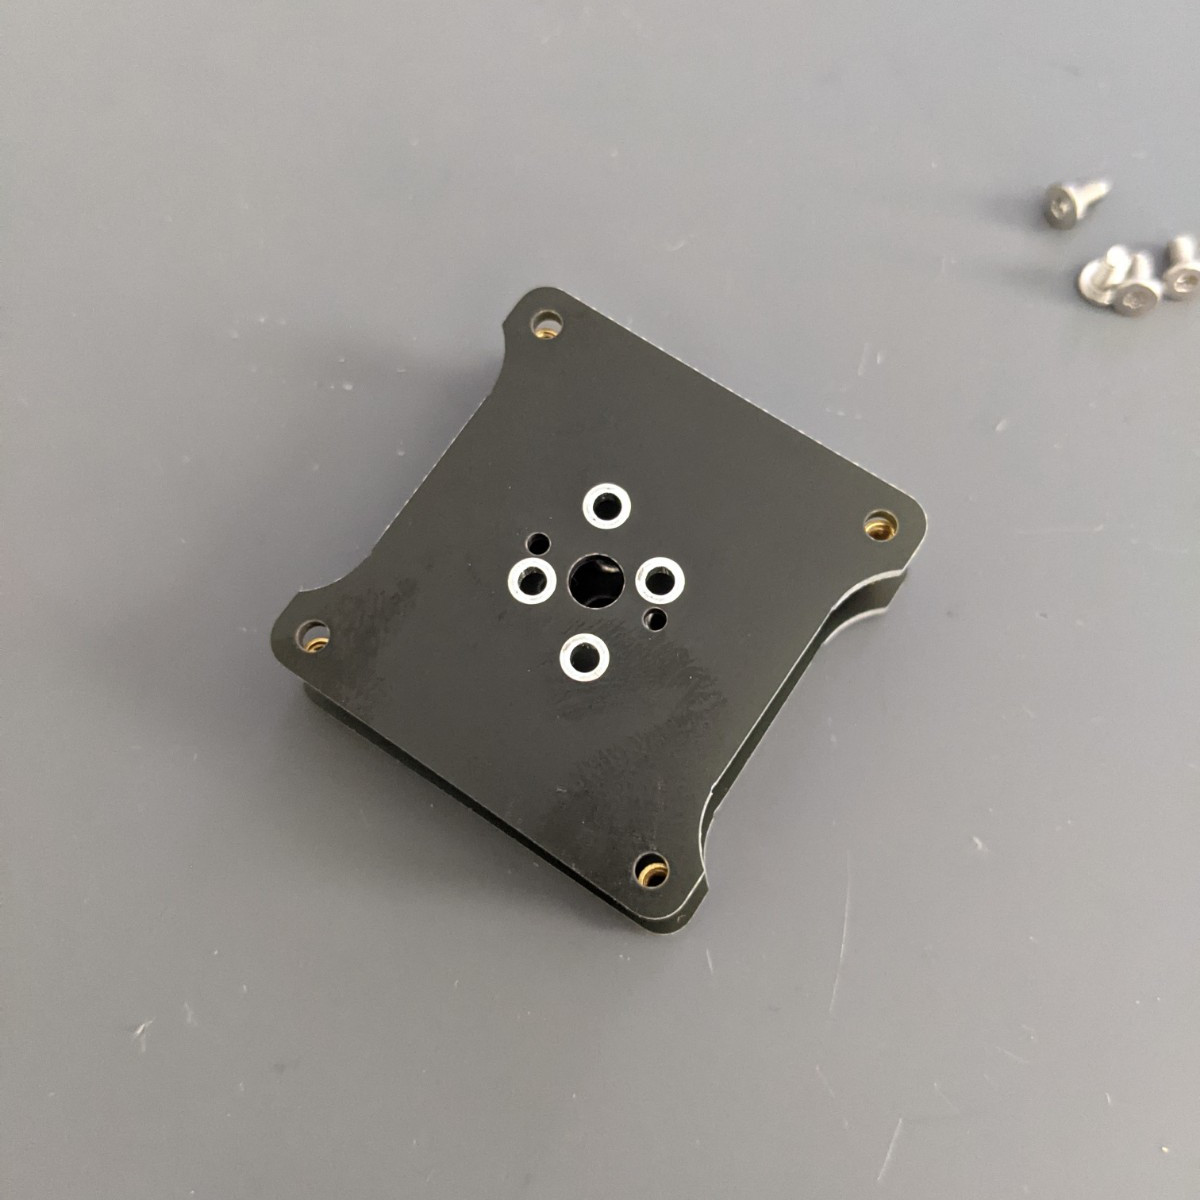
Place the second PCB (KEEBD logo face down again) on top of the standoffs.
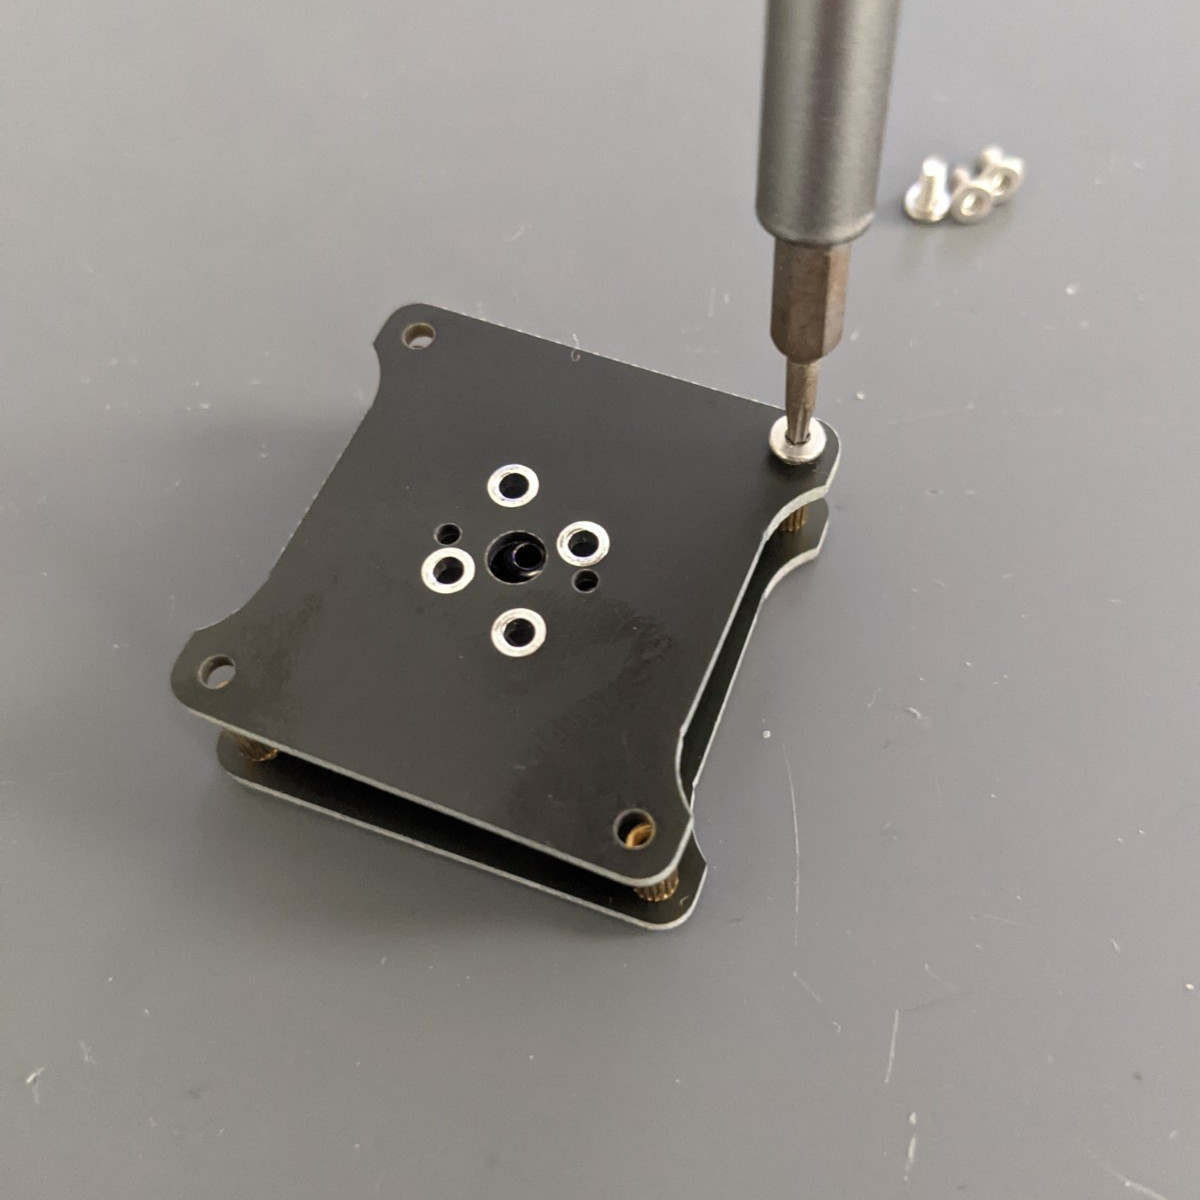
Using the remaining 4mm screws, screw the bottom place to the brass standoffs.
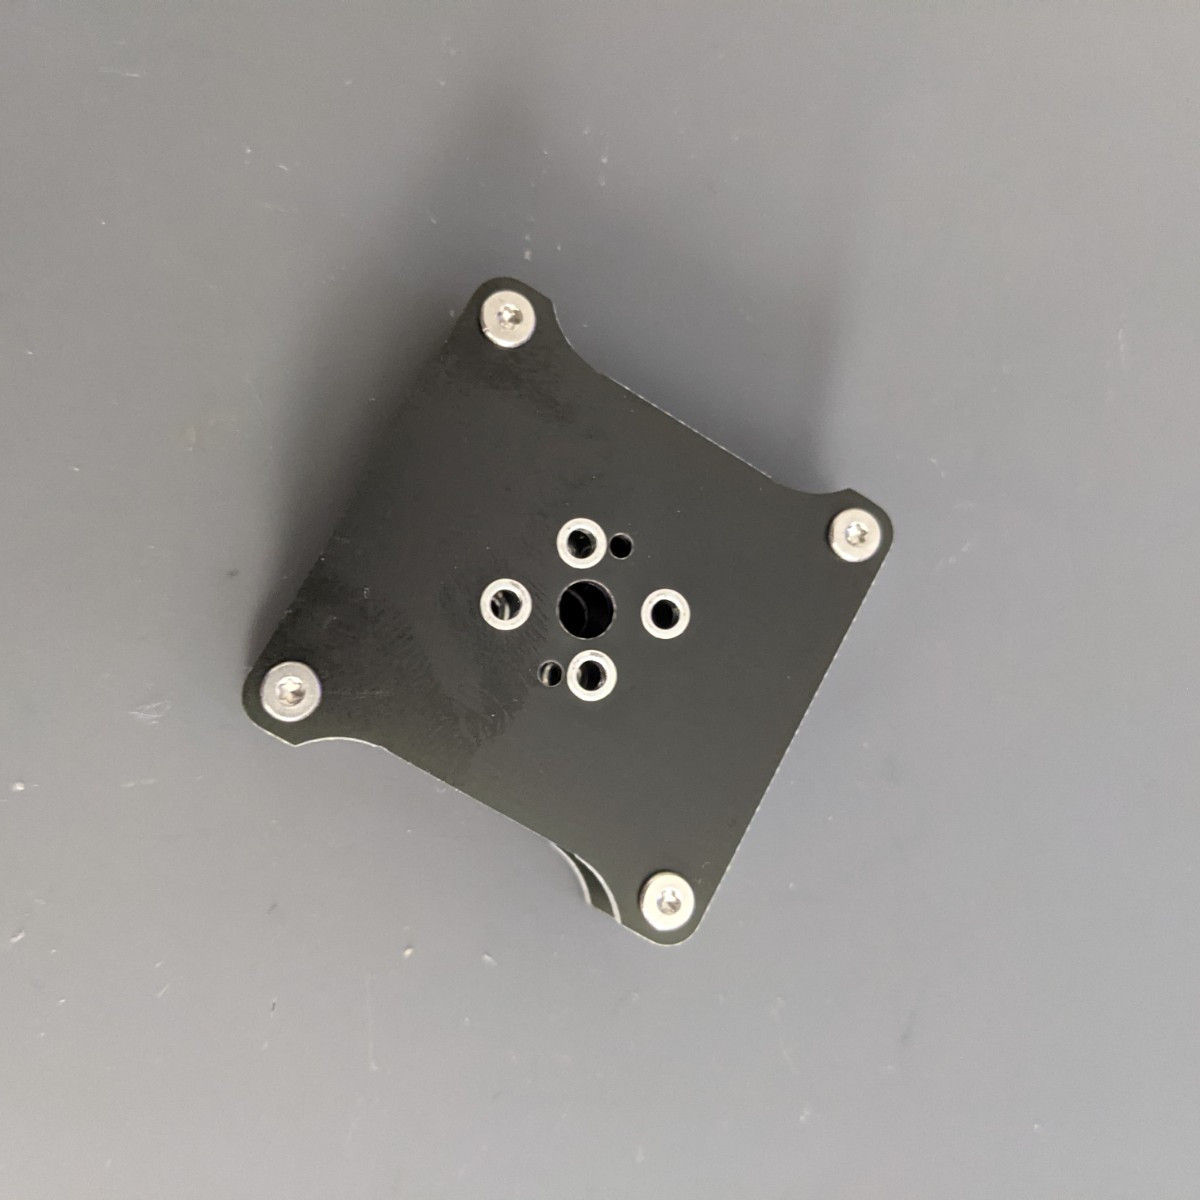
The main housing assembly is now complete and we are ready to solder the test springs.
2. Solder Test Springs
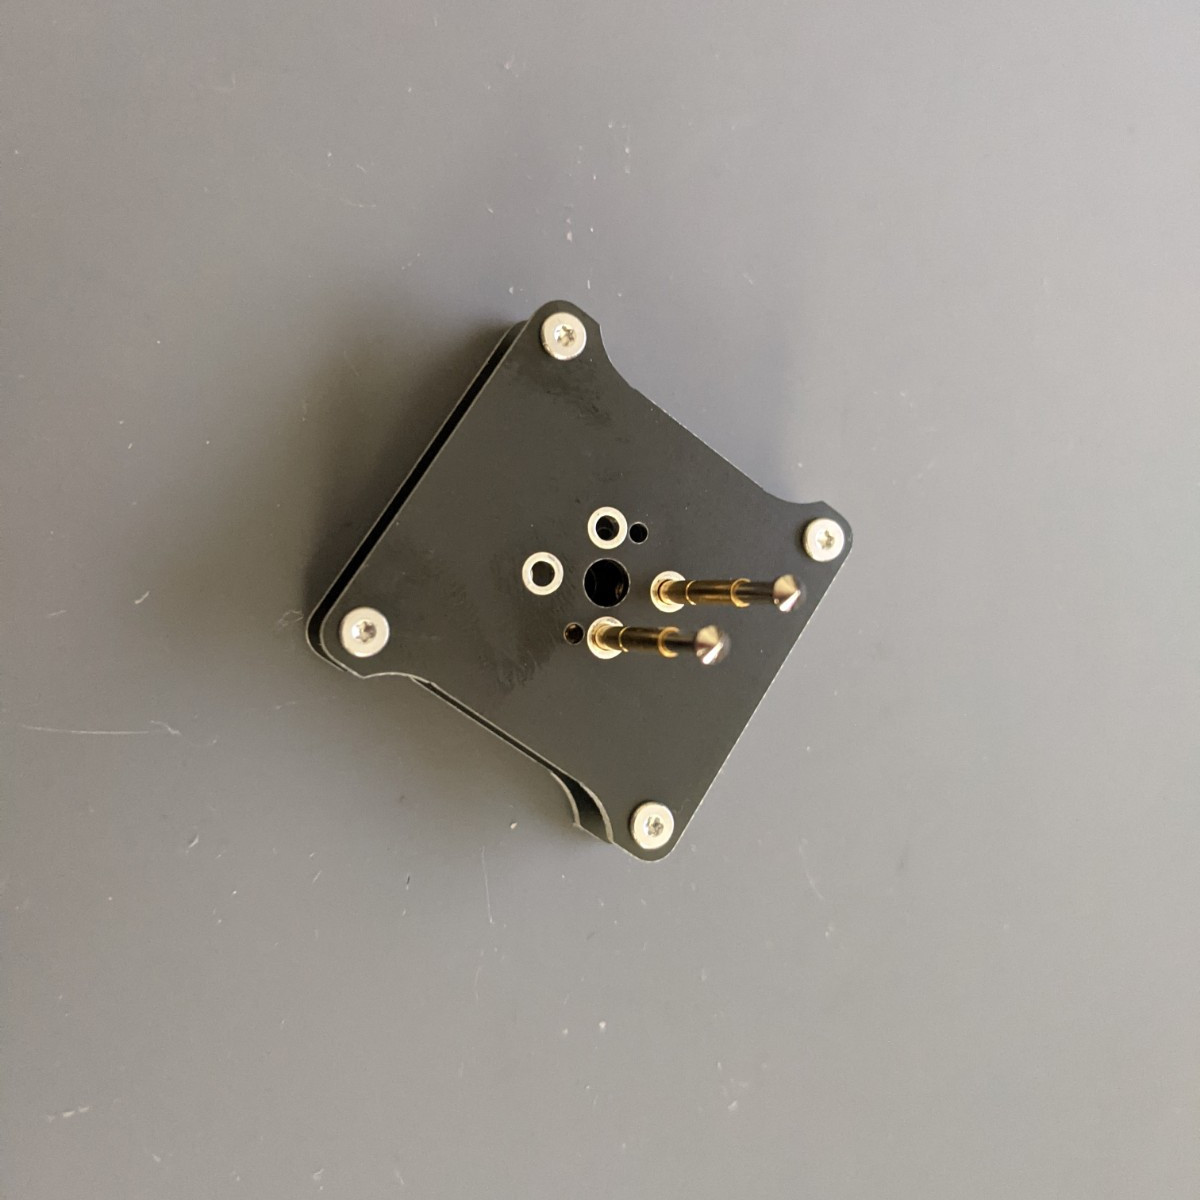
Sit the two test springs into two of the holes on one side.
Because the screw heads extrude from the PCB slightly you may need to place a piece of paper under the spring heads to ensure they remain flush with the PCB otherwise once soldered the switch will not be able to sit flush with the top of the tool.
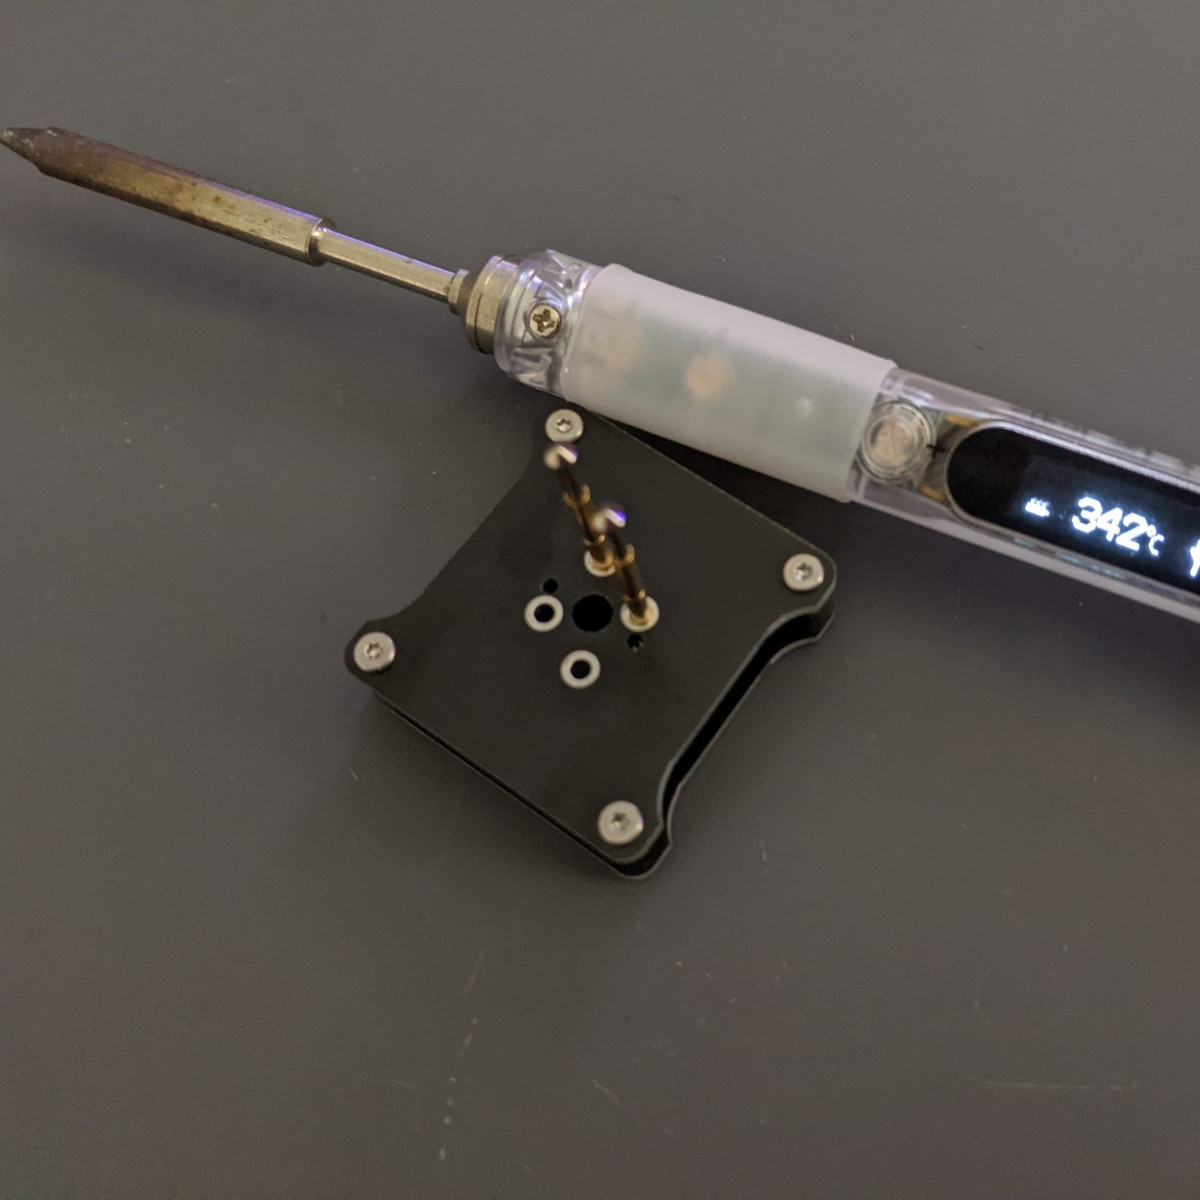
Turn on your soldering iron and let it heat up.
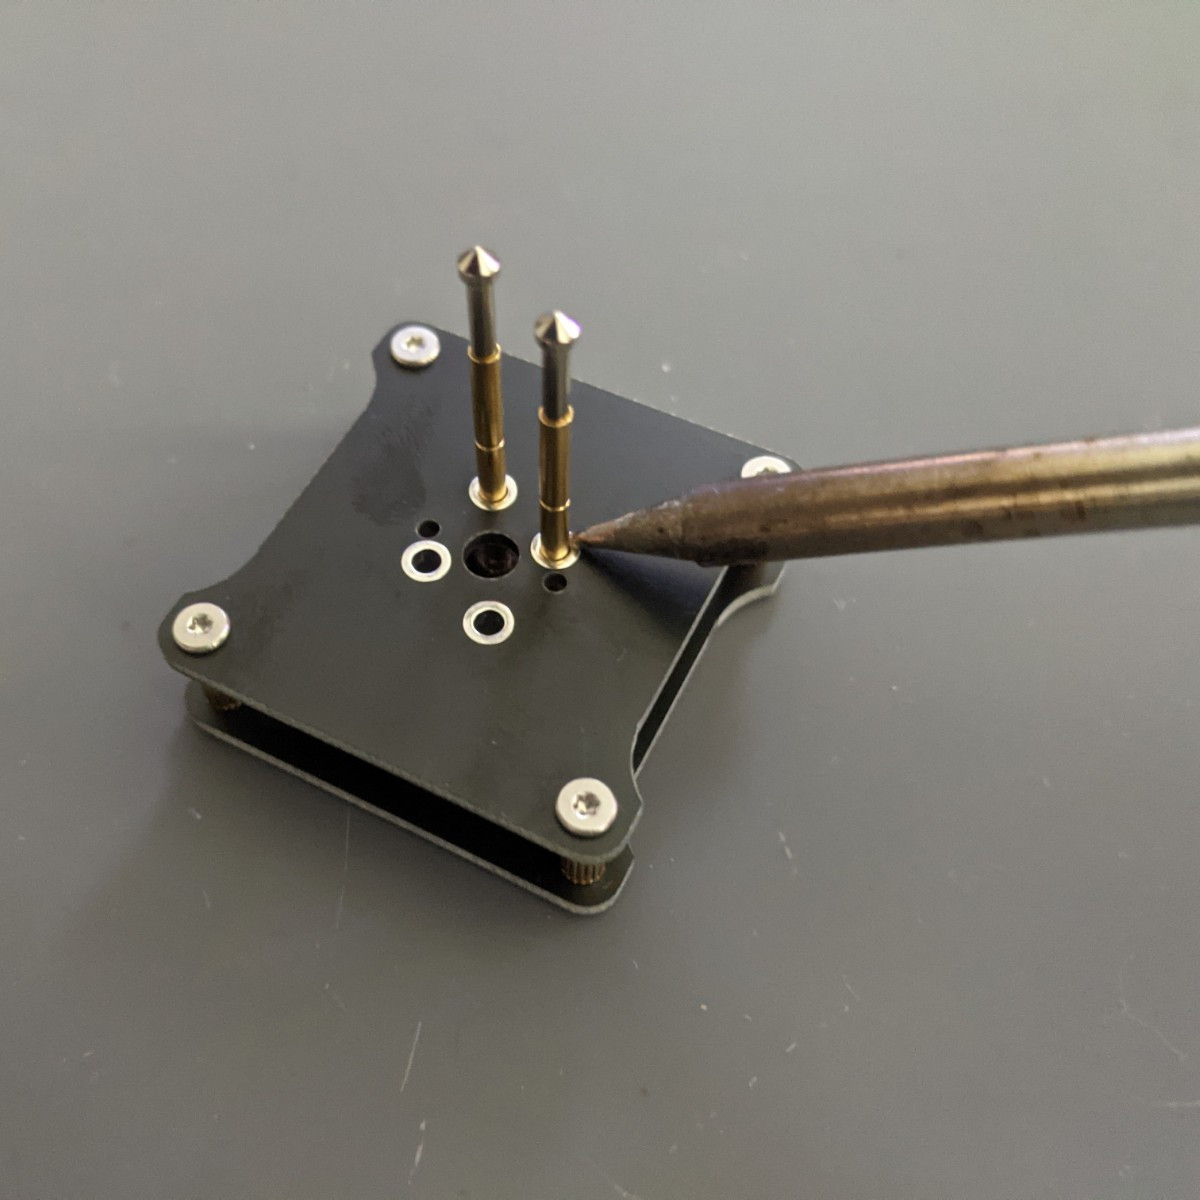
Hold the soldering iron tip on the PCB pad making sure it is also touching the test pin (to heat up both parts).
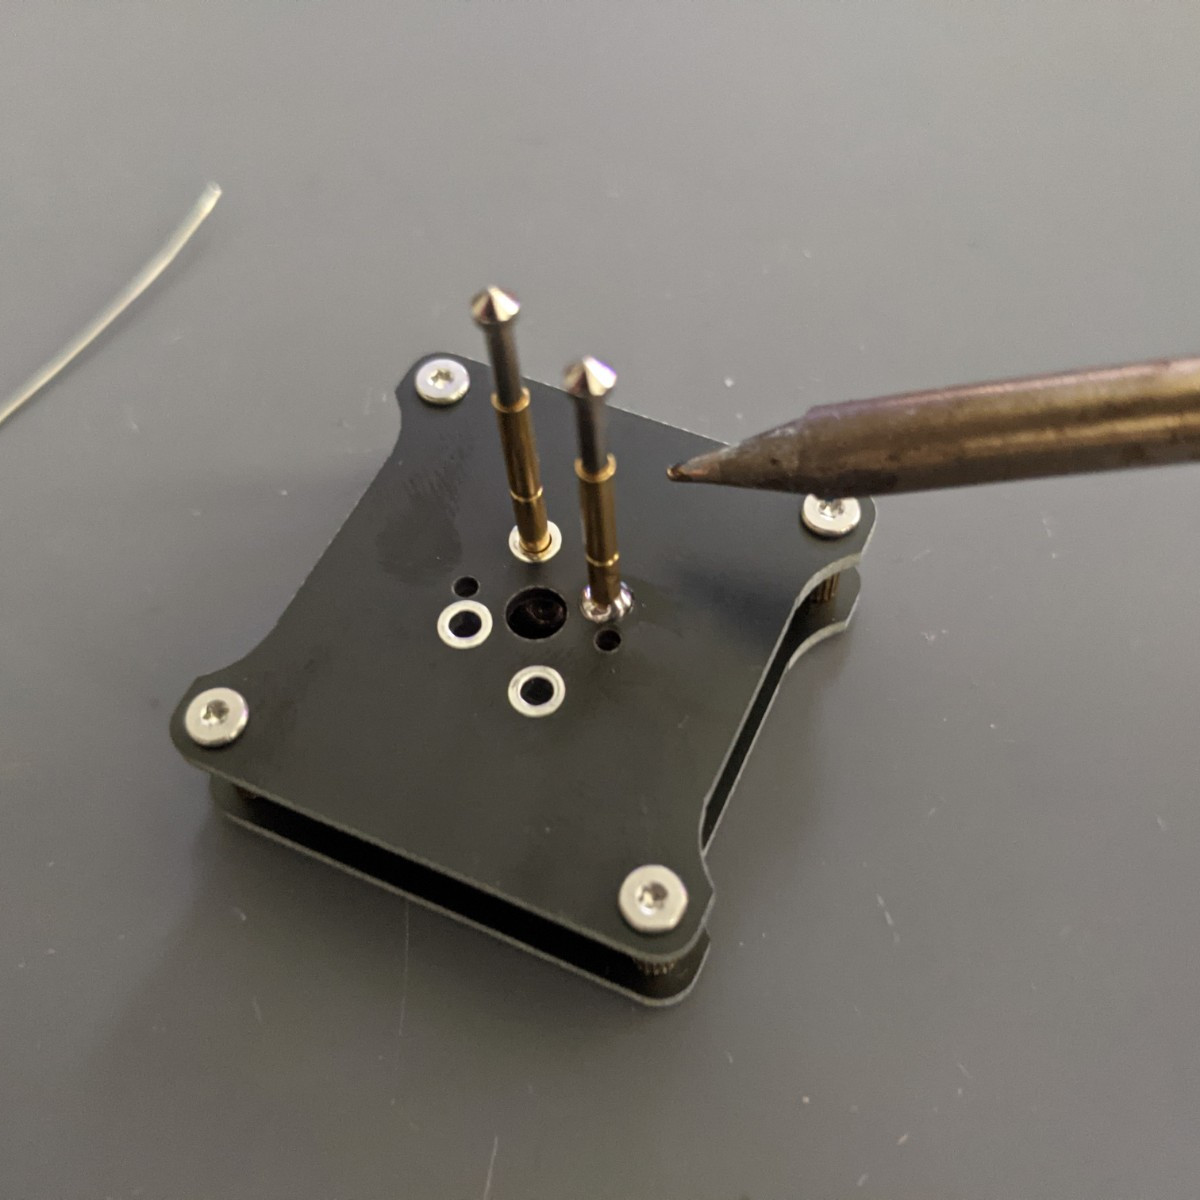
Once the iron has heated the pad and pin for a few seconds slowly push solder onto where the pad, test pin and iron tip are touching so that the solder can flow and attach to the pad and test pin cleanly.
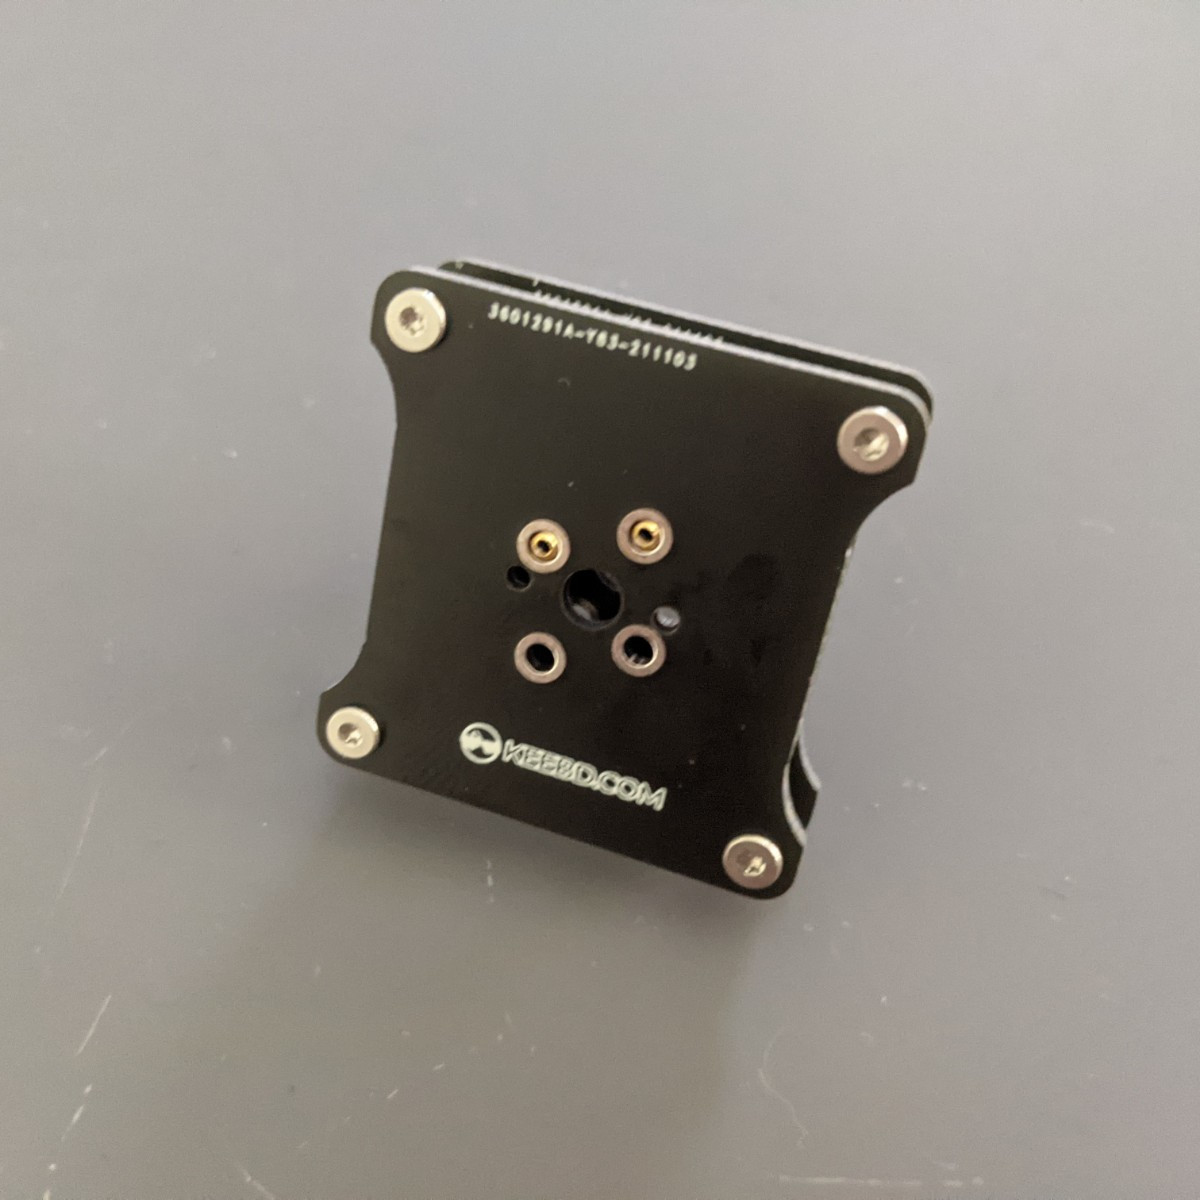
When the solder hardens you should now be able to turn the tester over and ensure the test pins are flush with the PCB on top.
3. Add Keyboard Switch
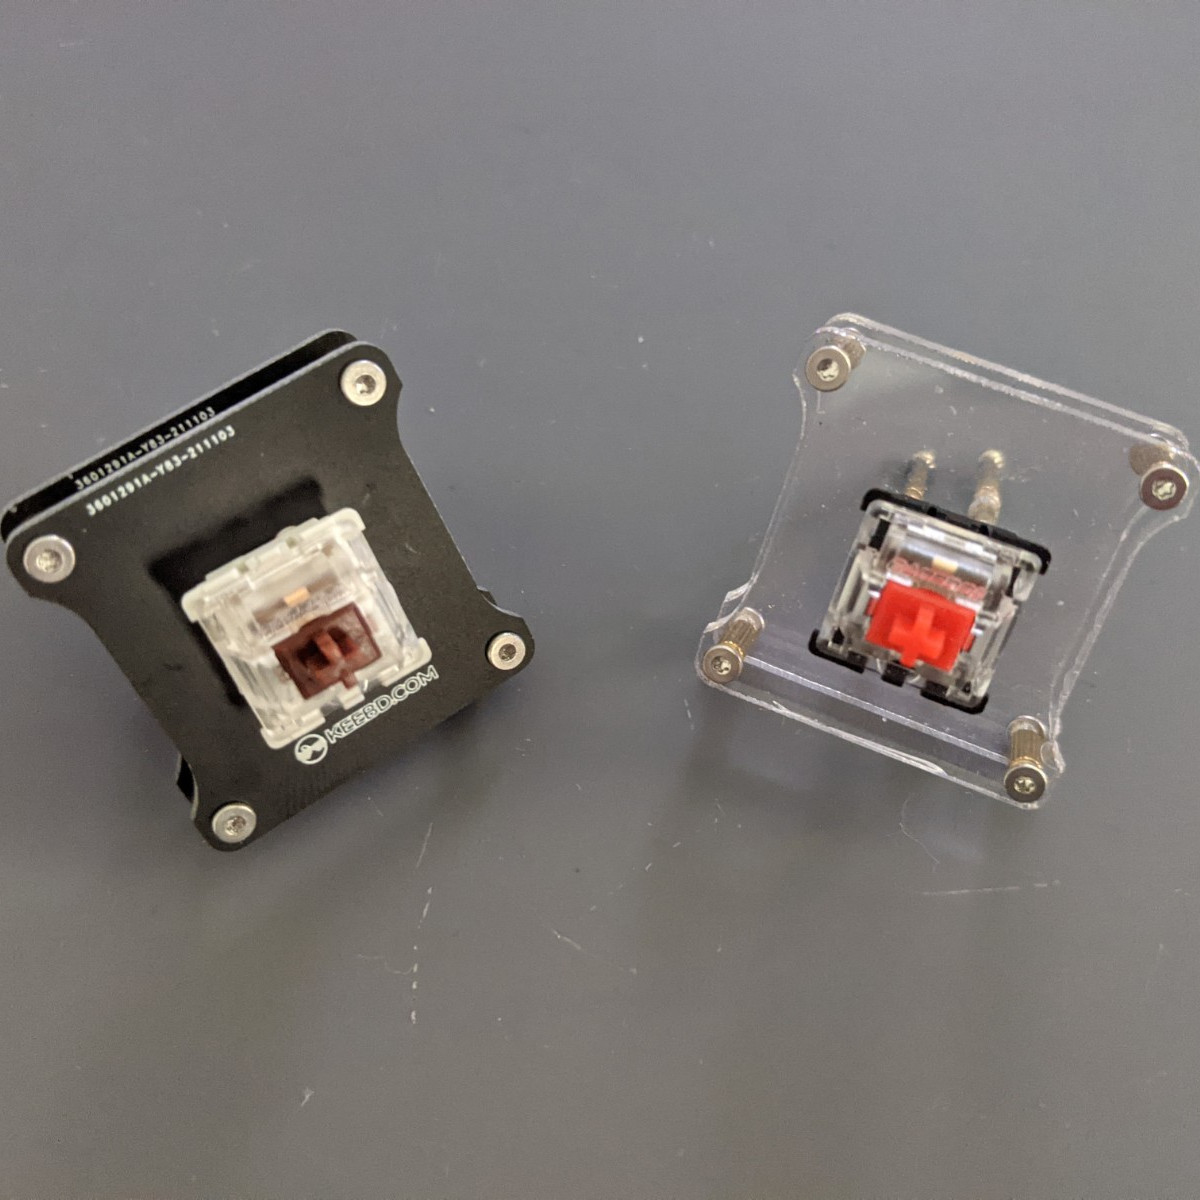
Firmly press fit a MX switch to the top.
Assembly is complete.
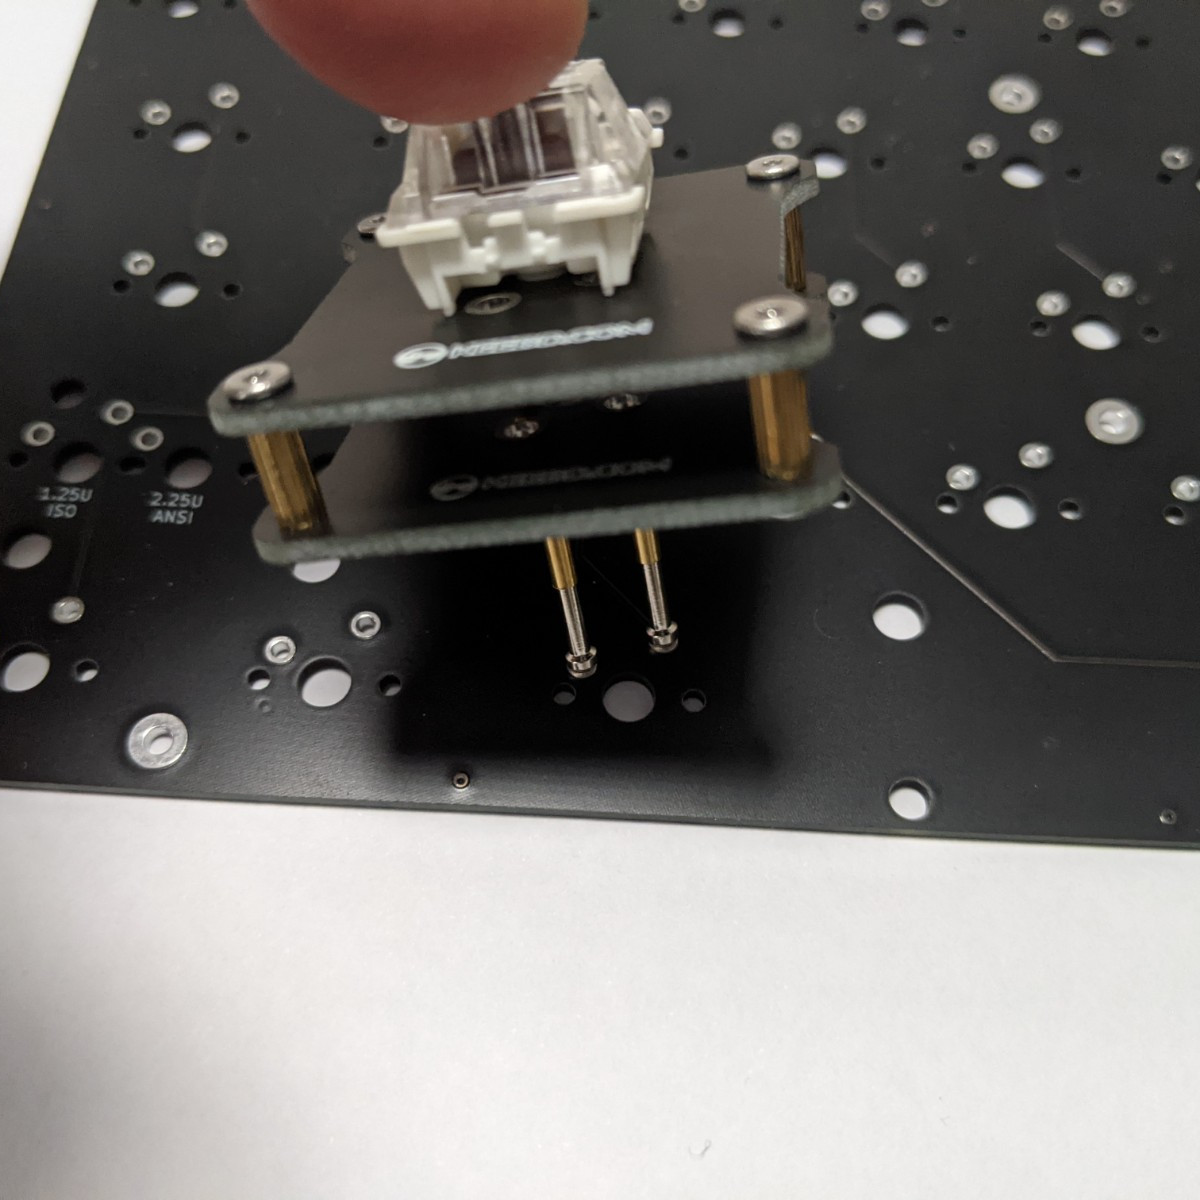
Now you have a very handy tool to quickly and easily test each switch connection on your PCB.