Build Steps
1. Prepare Diodes
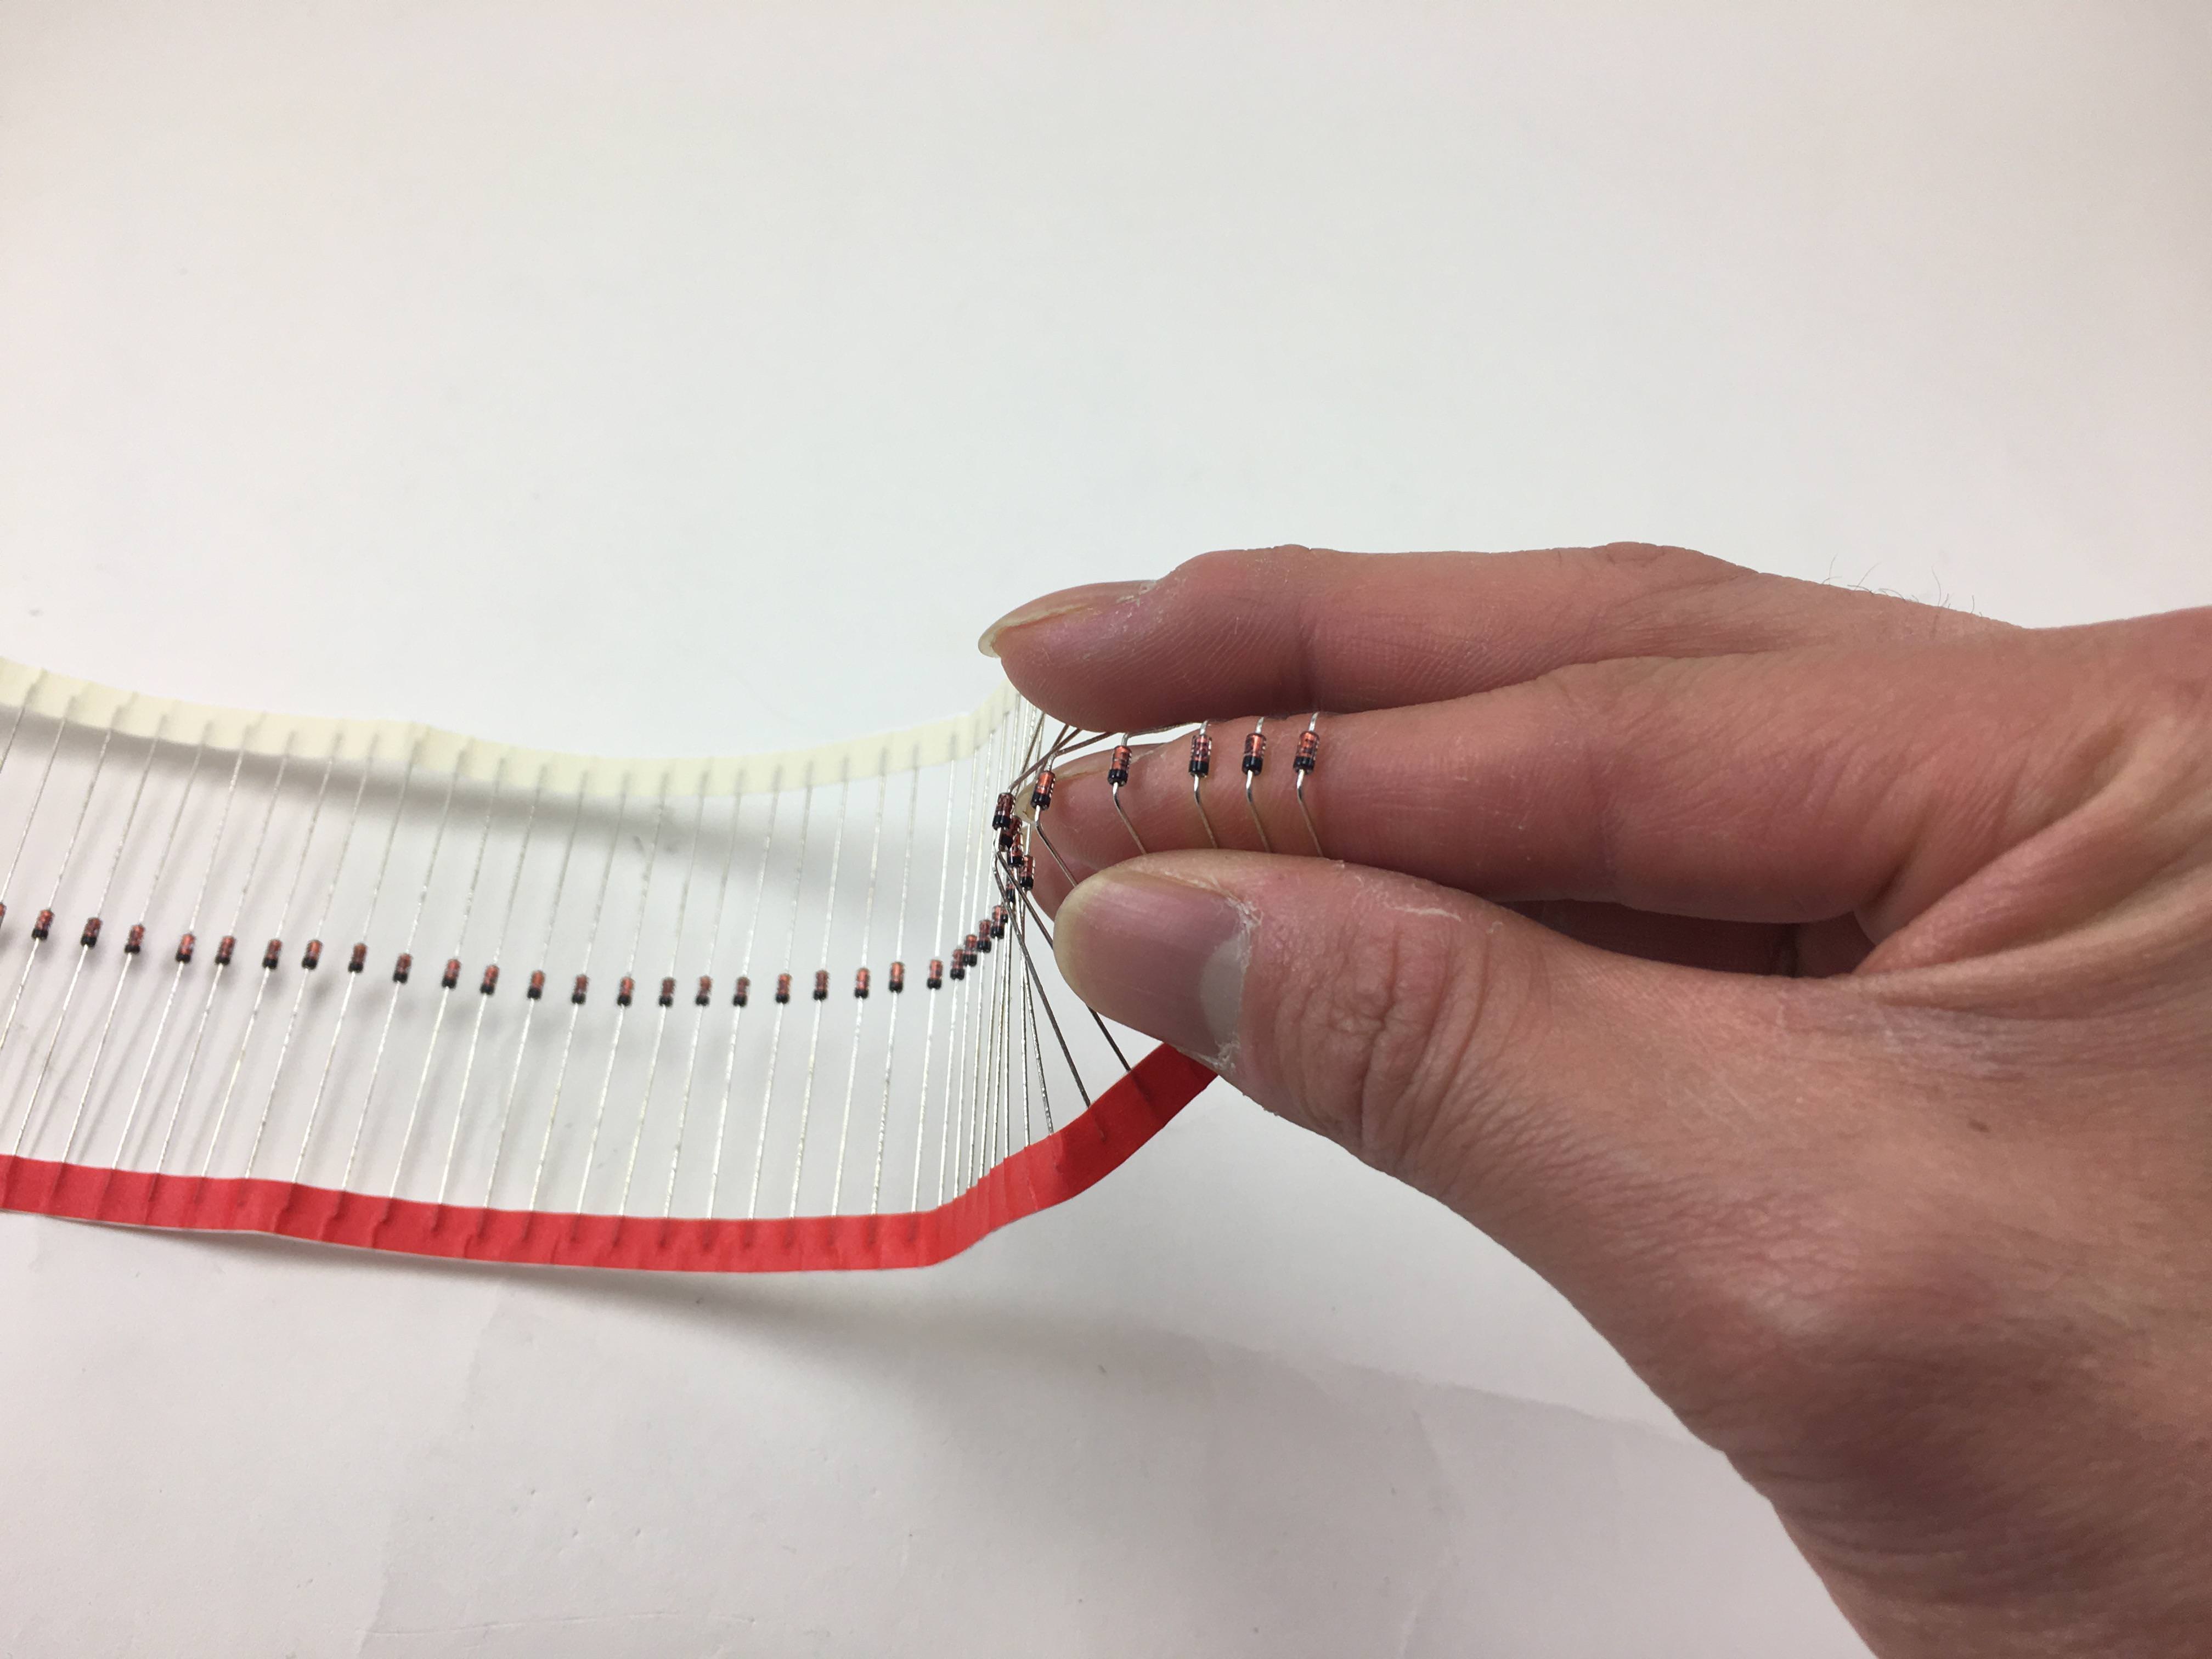
If you're using through hole diodes, bend them into shape. Here, I'm just bending it around my finger
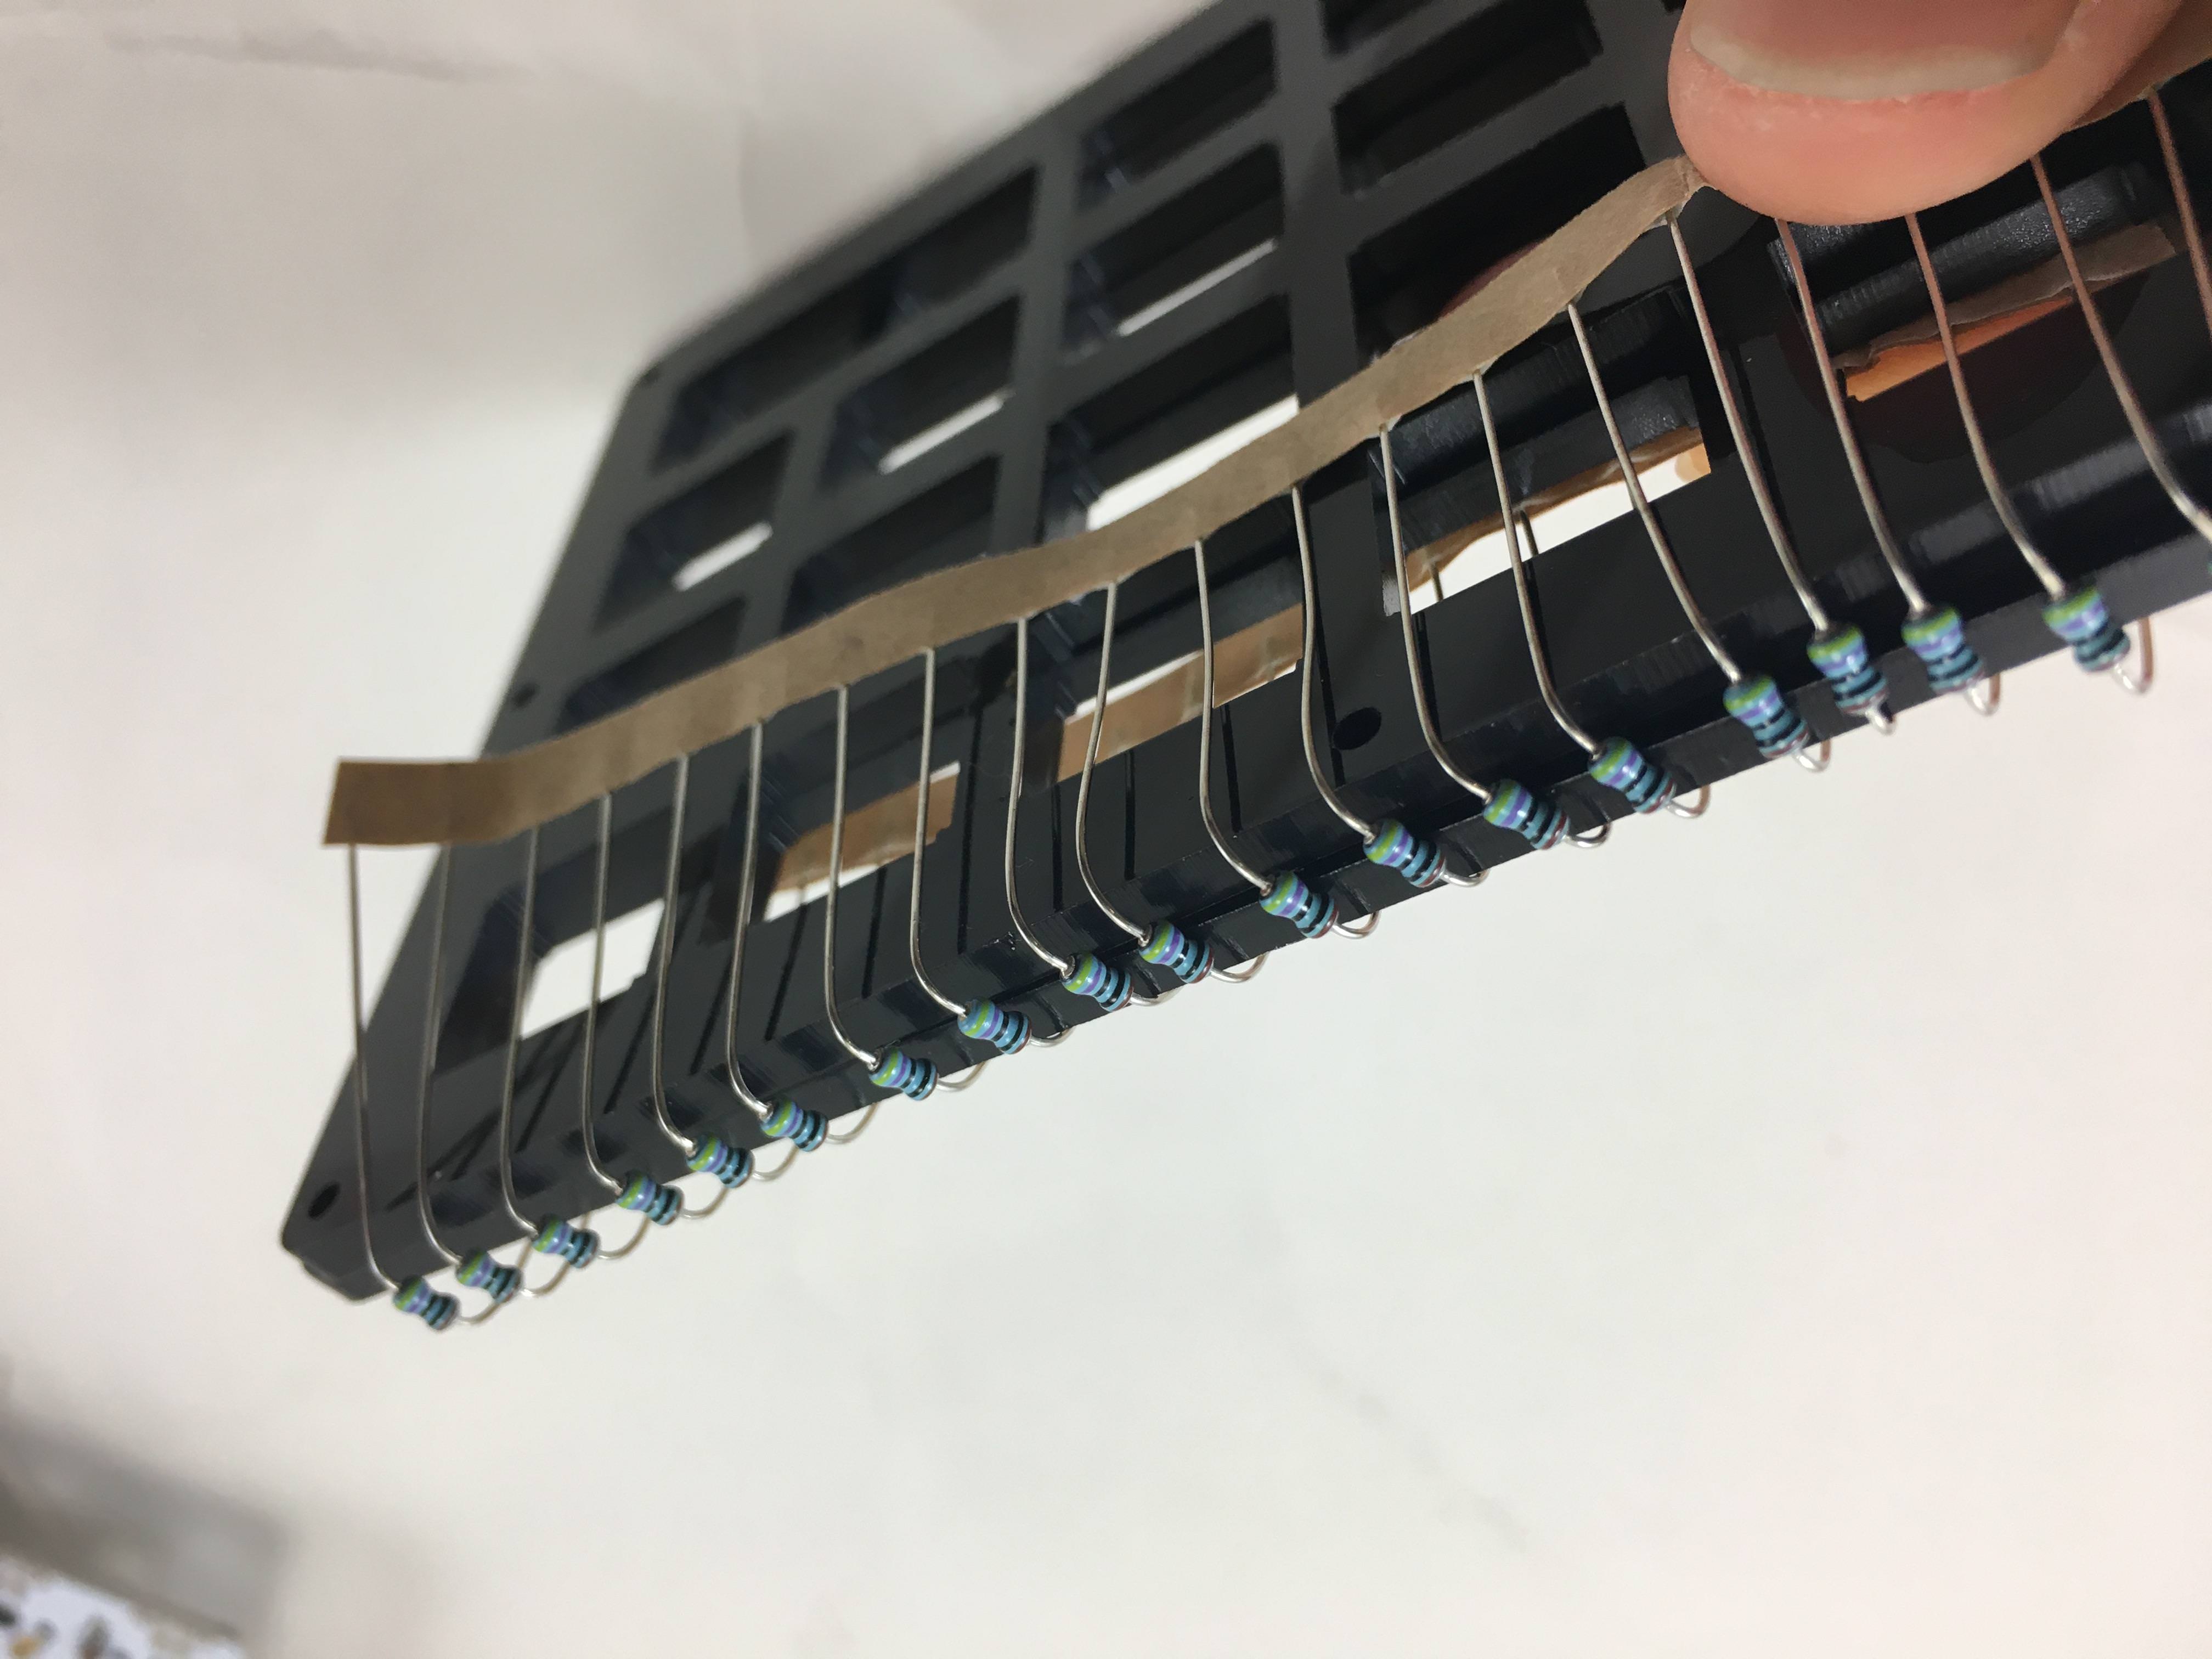
Another way to do it, resistors shown here
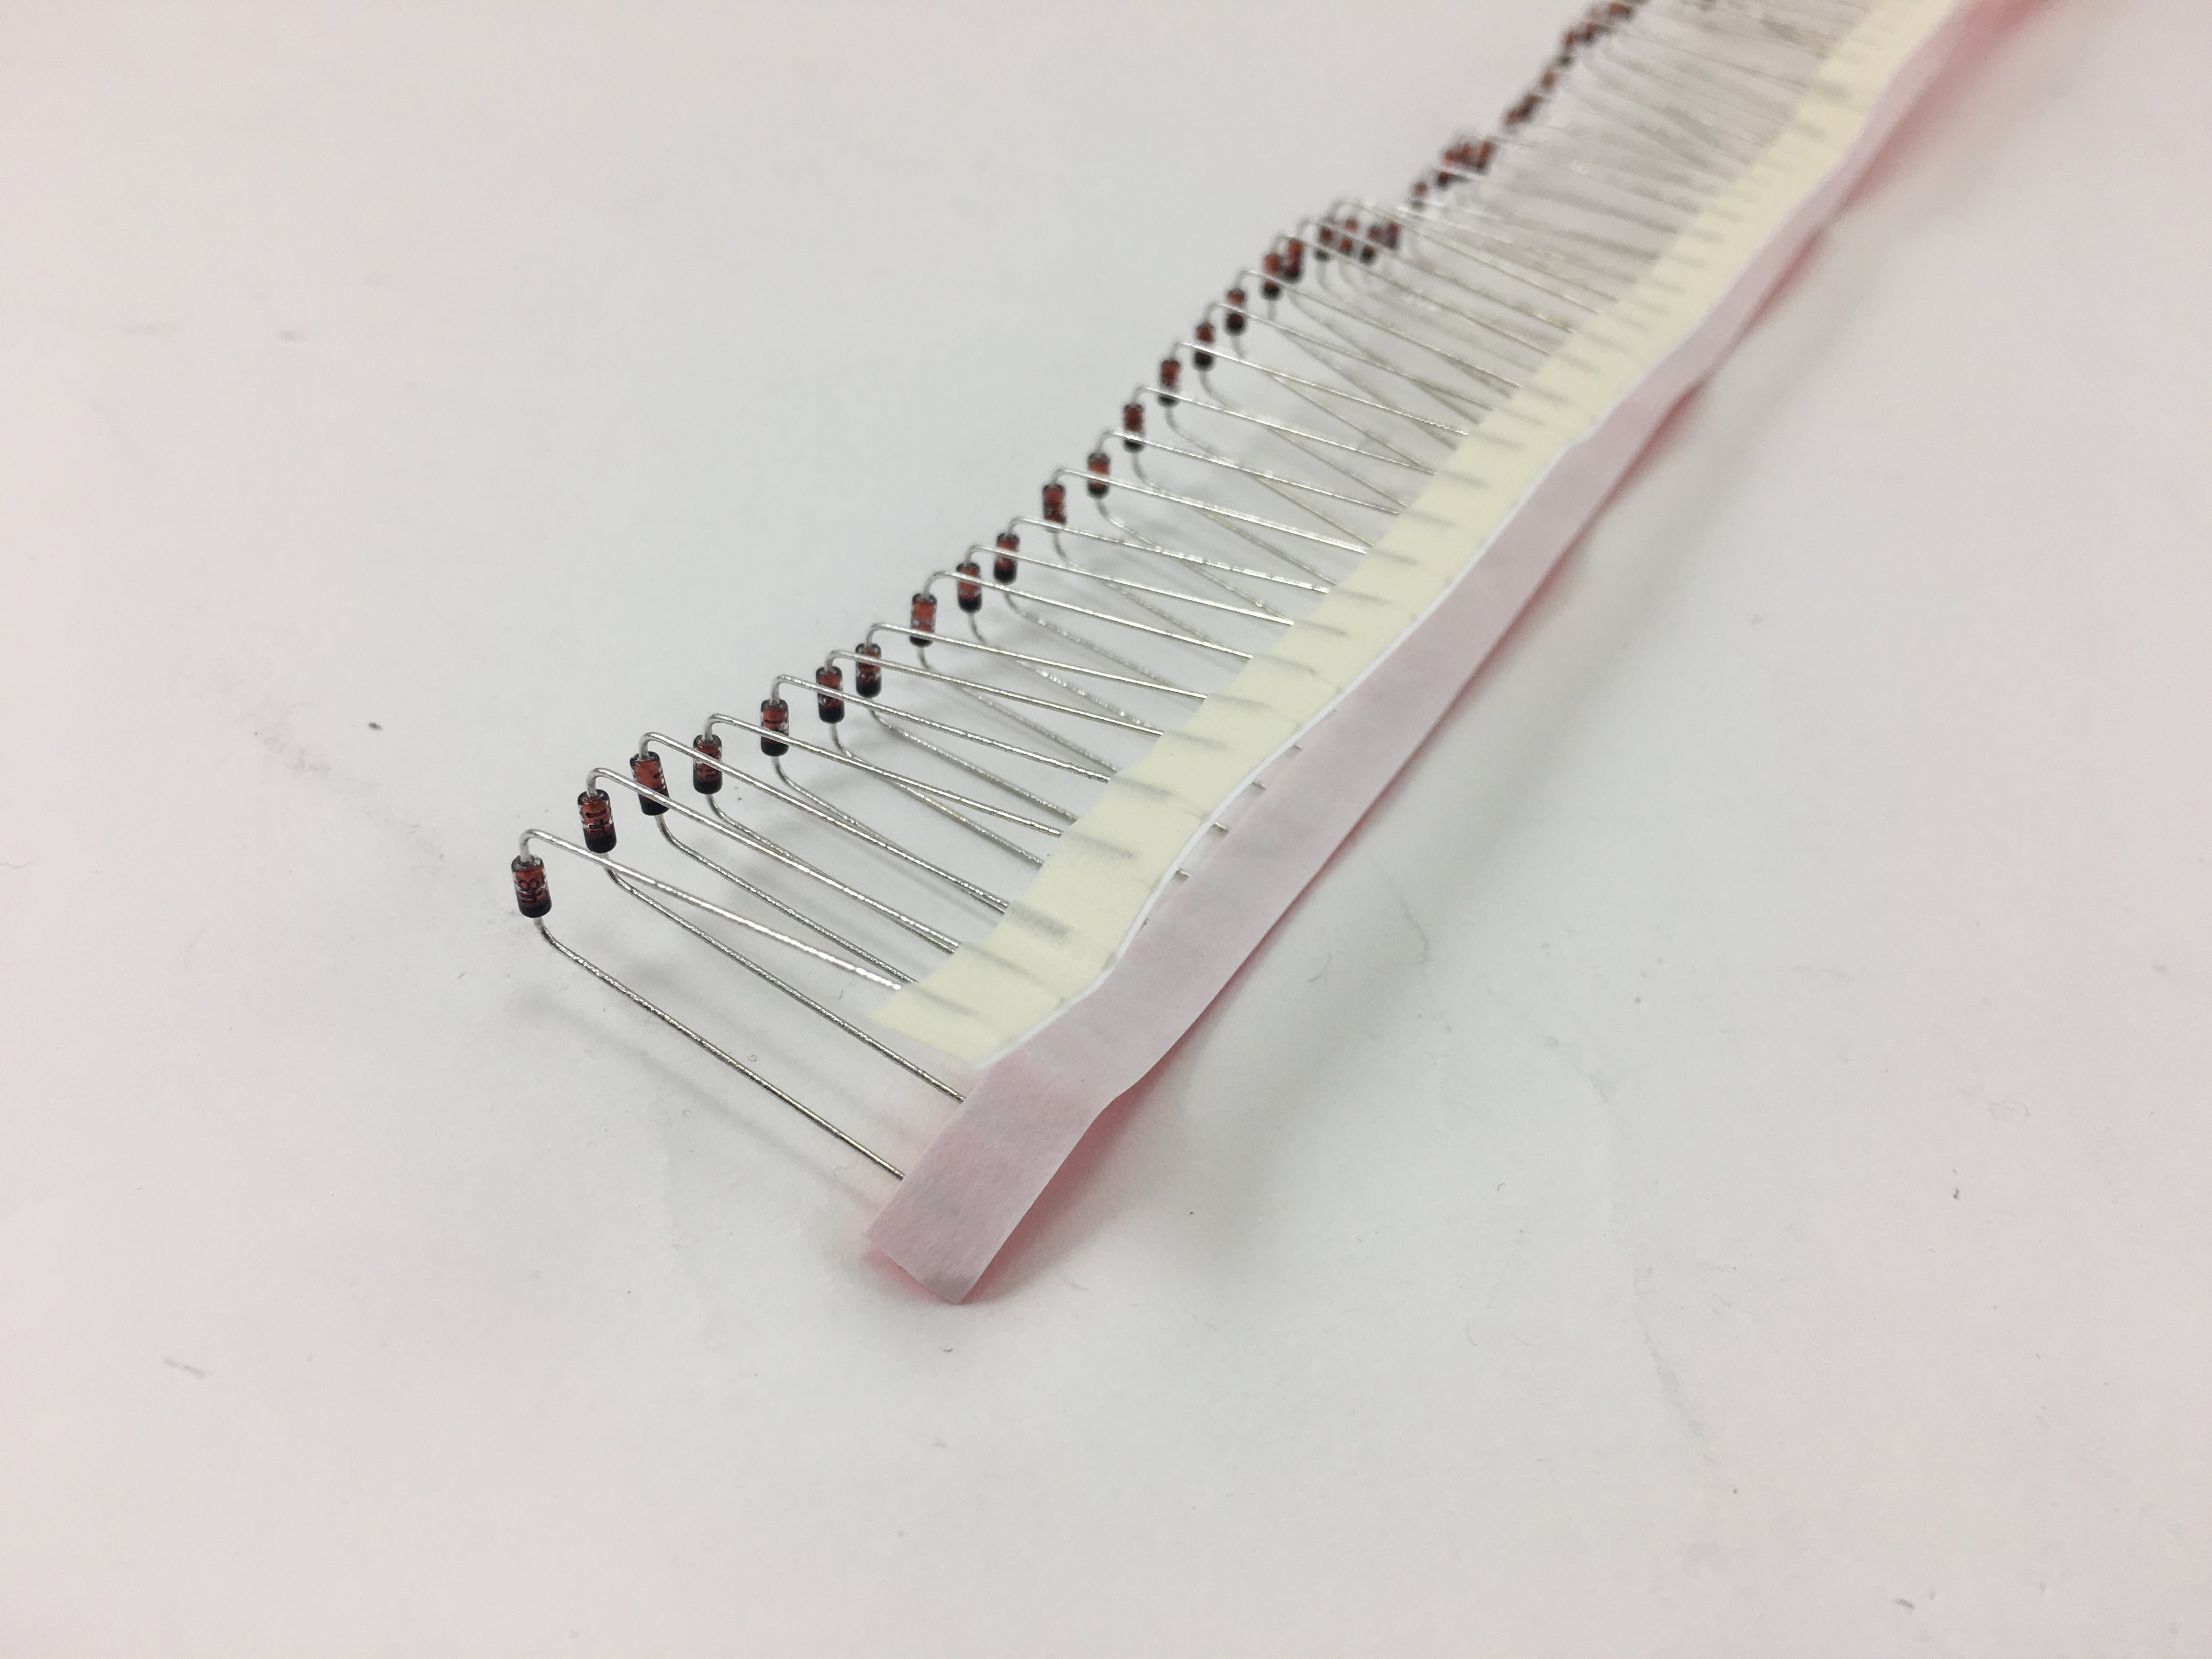
Strip of diodes bent
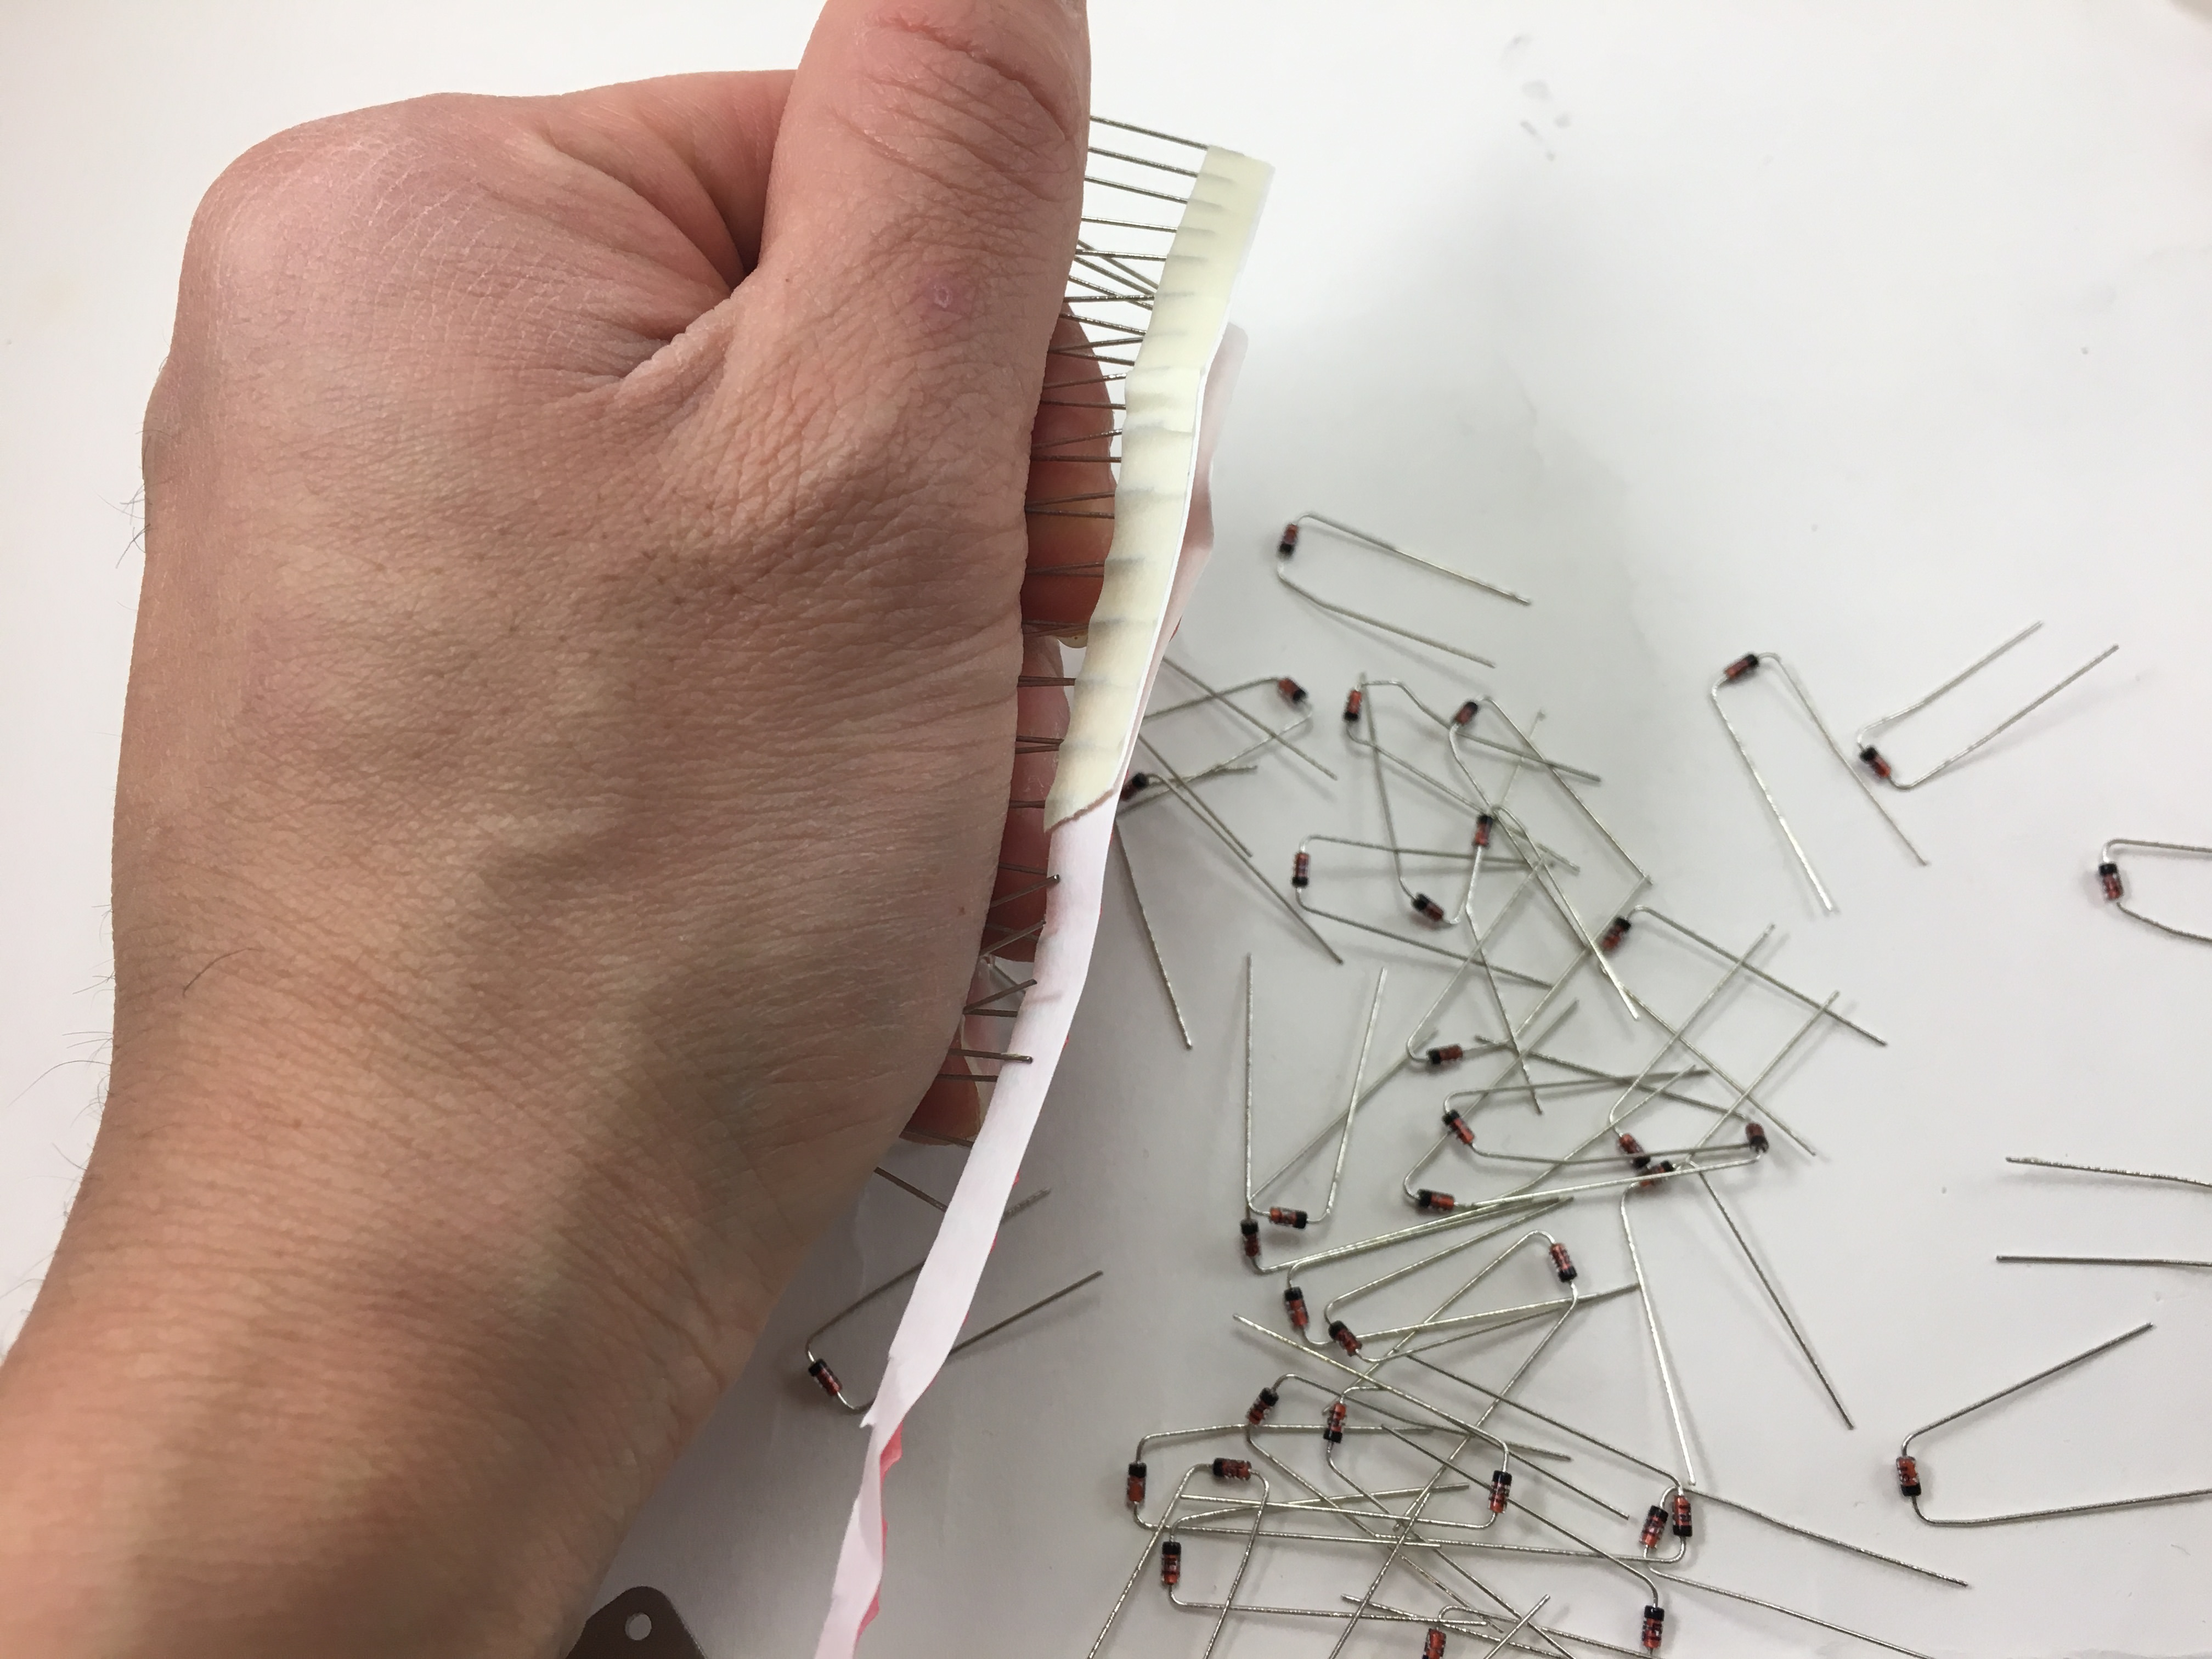
Ripping off the paper holding all the resistors together. Grip the diodes tightly so they don't bend as you're ripping the paper off.
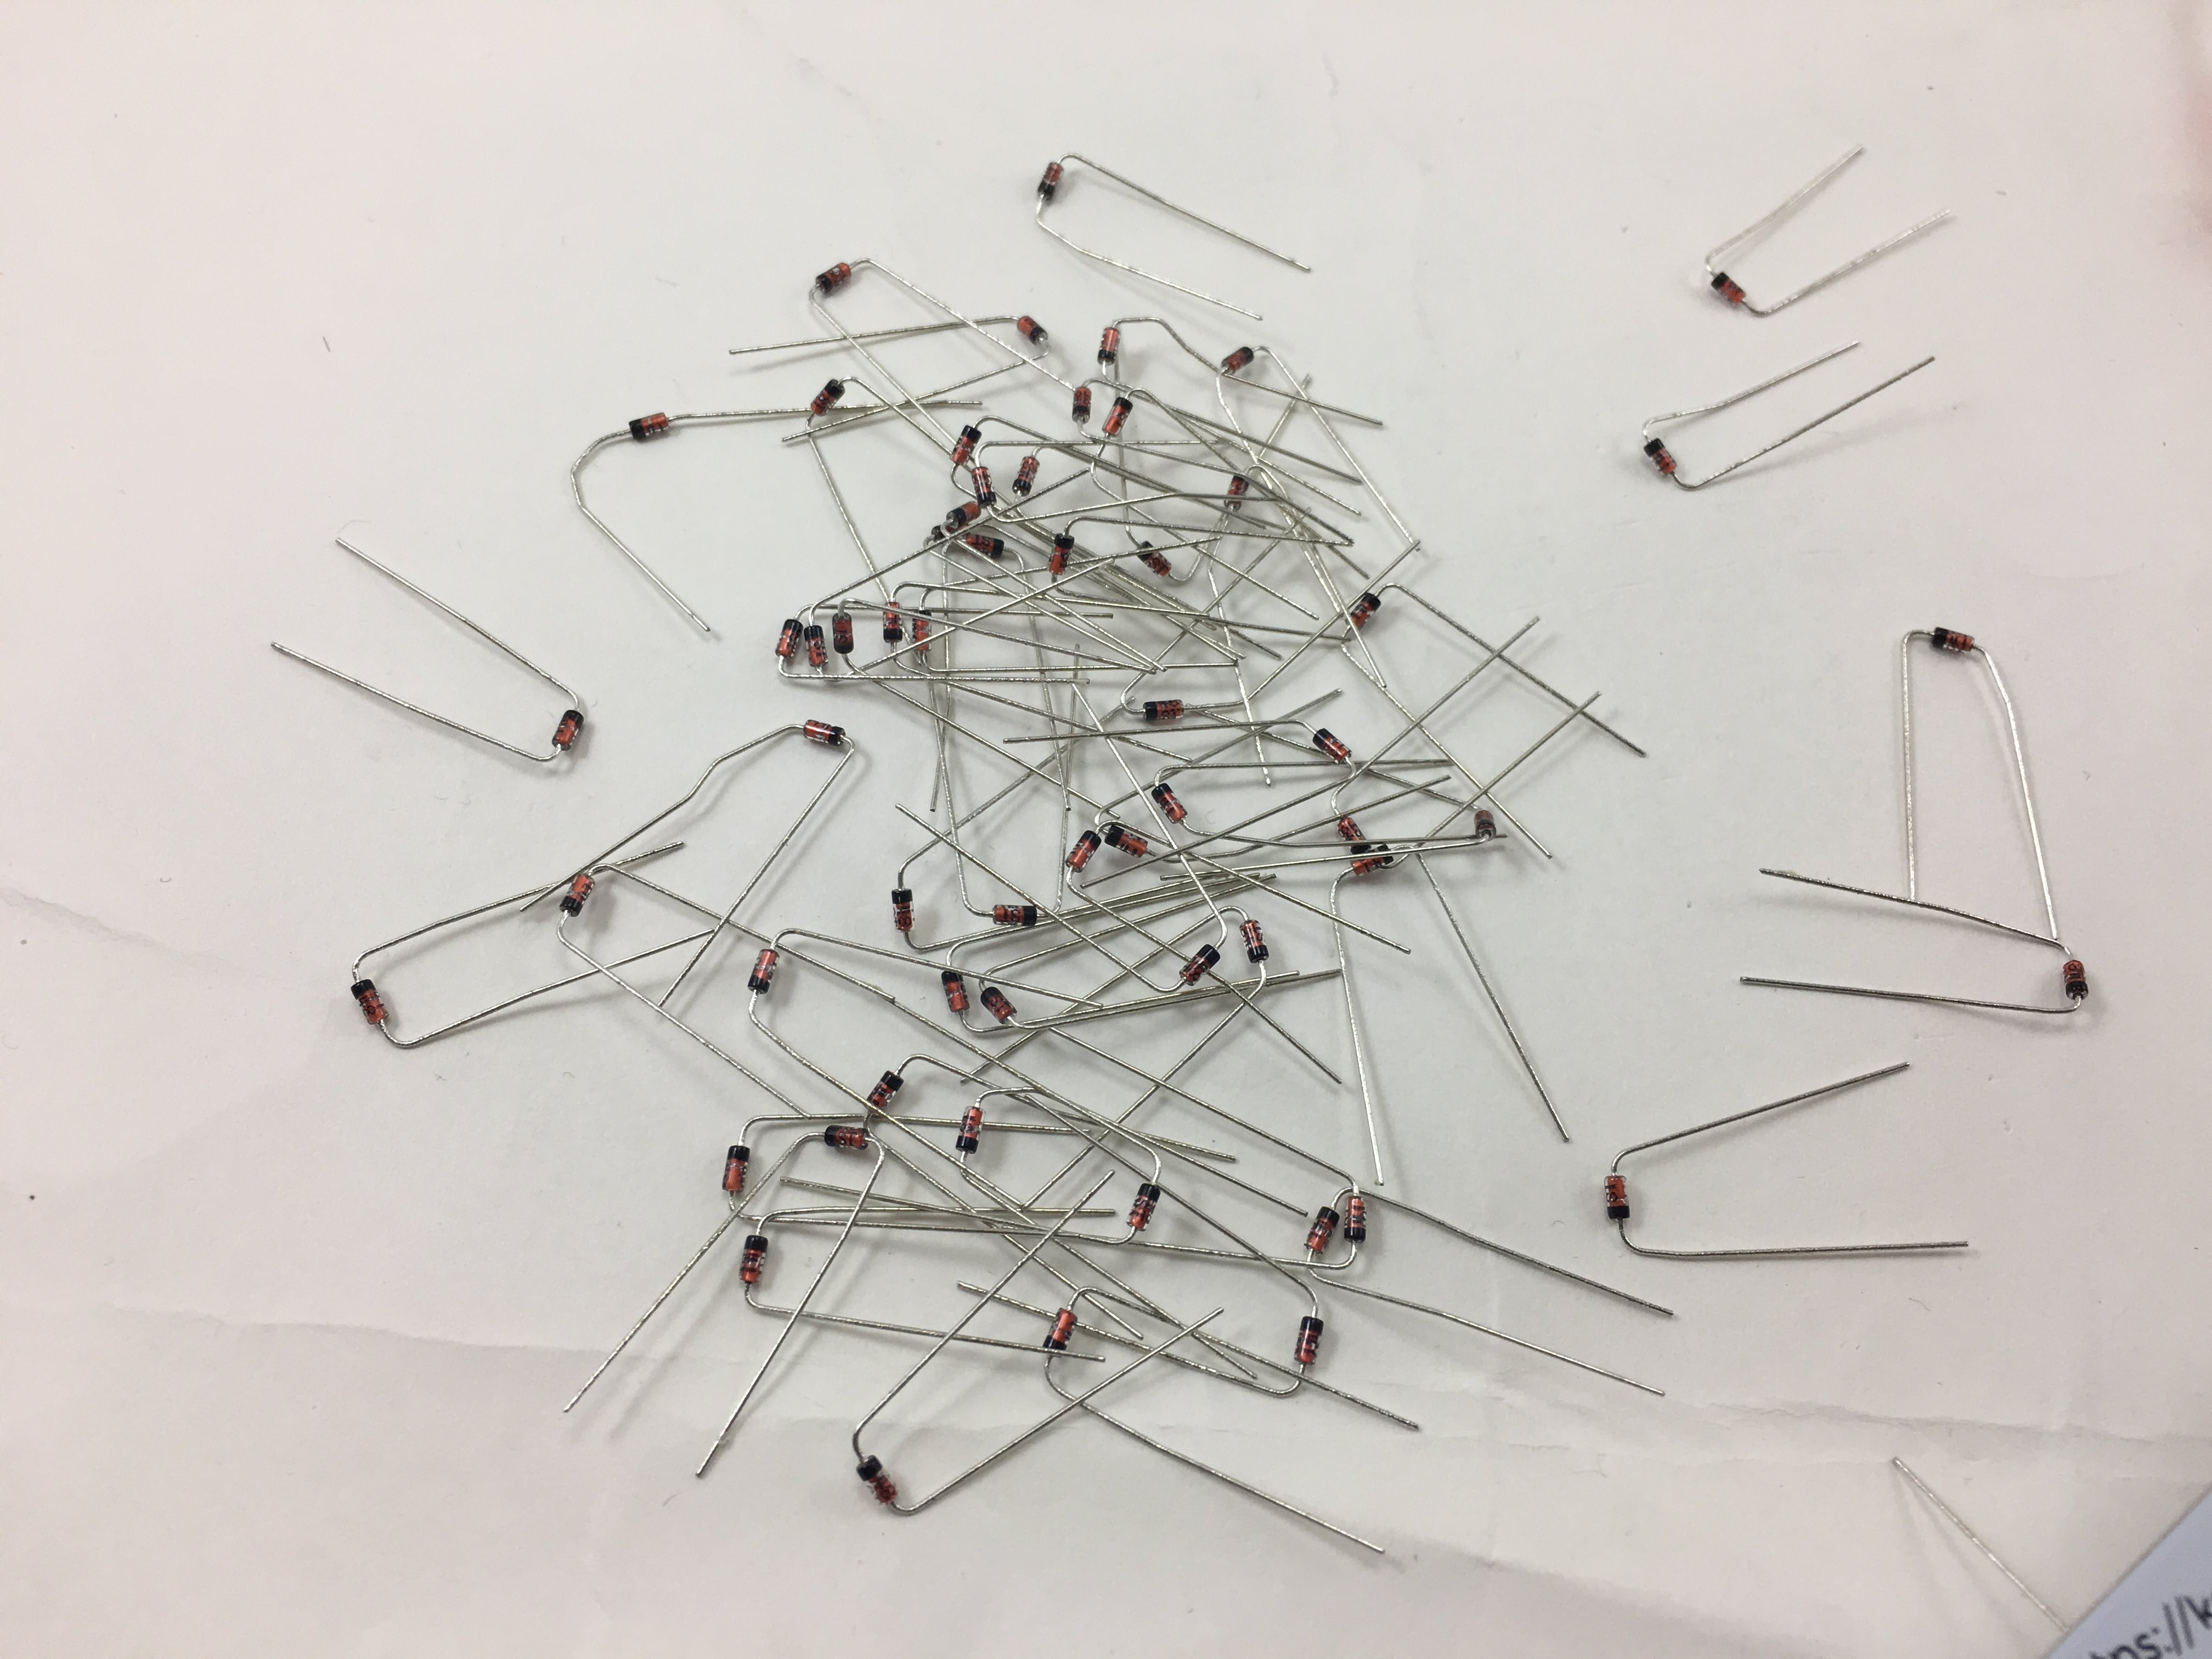
All separated from the paper
2. Install Diodes
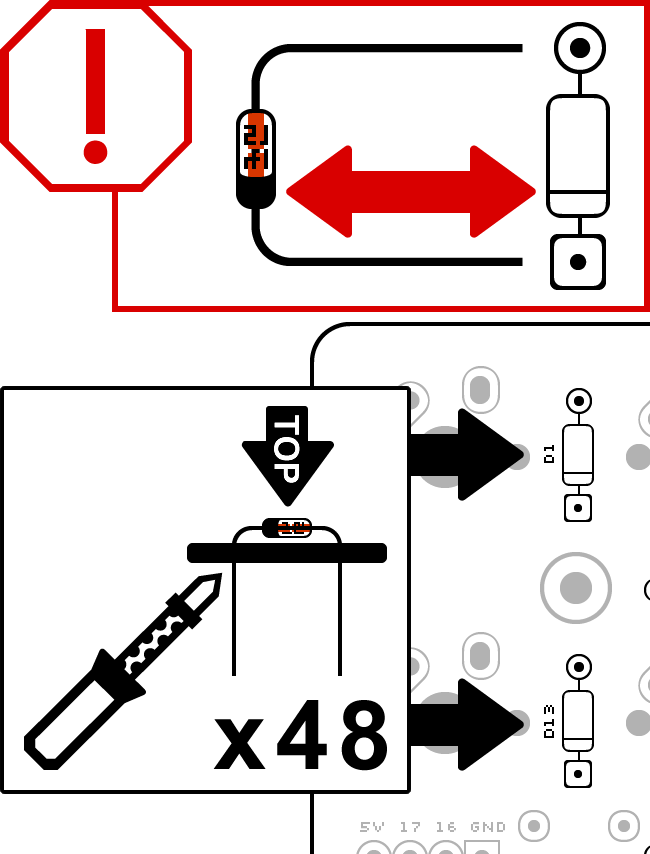
Install diodes to the top of the PCB. Solder diode pins where they stick out of the bottom of the PCB. 48 diodes must be used for all switches to function.
info
Diodes are direction sensitive. Be sure to install all diodes with the black side aligned to the side with the square solder pad and line through the diode outline (as shown in illustration).